Classic French Silk Pie Recipe
- Time: Active 45 minutes, Passive 6 hours, Total 6 hours 45 mins
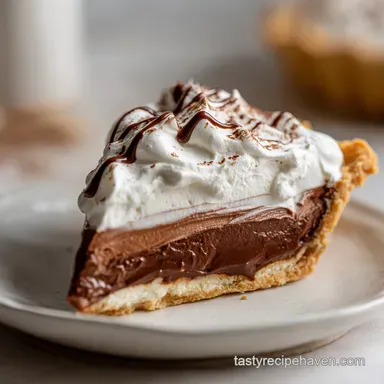
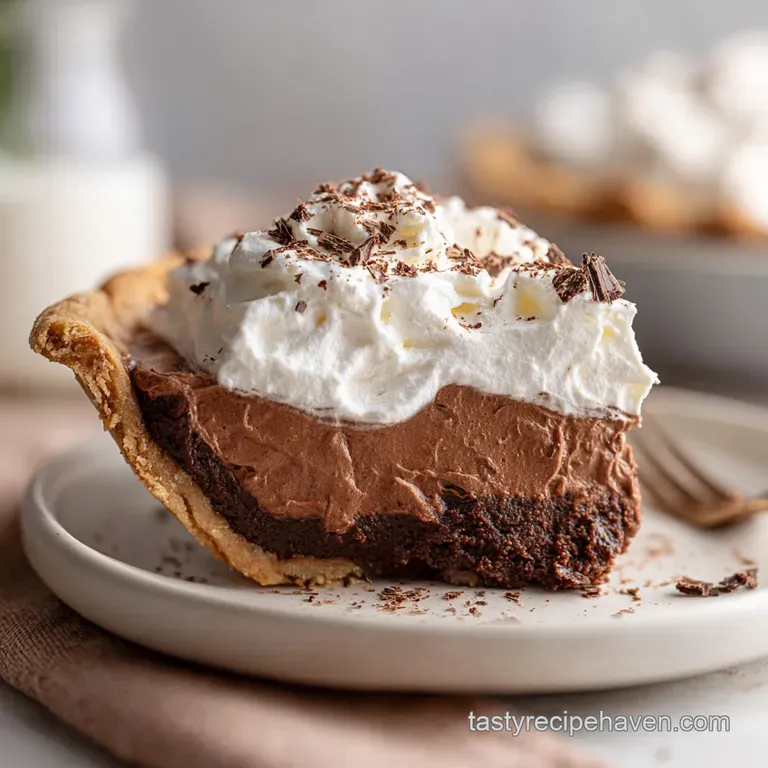
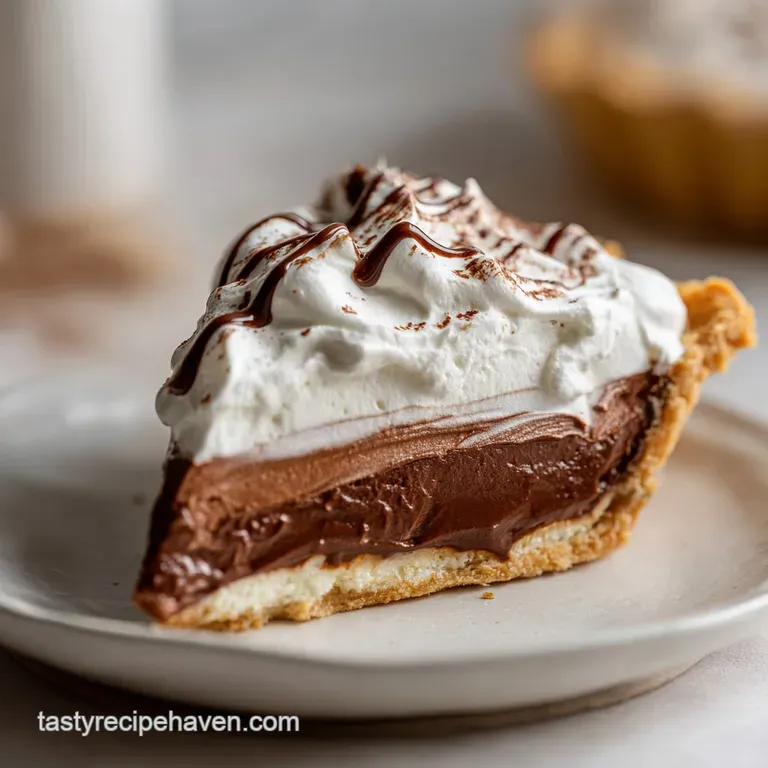
- Flavor/Texture Hook: Velvety chocolate mousse with a crisp, flaky base
- Perfect for: Holiday gatherings, Sunday dinners, or impressive dinner parties
- Mastering the Classic French Silk Pie
- The Science of Velvety Mousse
- Component Analysis for Better Baking
- Pantry Elements and Budget Substitutions
- Essential Tools for Home Cooks
- The Detailed Cooking Process
- Troubleshooting Common Texture Issues
- Customizing Your Chocolate Creation
- Guidelines for Storage and Freezing
- Busting Common Baking Myths
- Ideal Beverage and Plate Pairings
- Recipe FAQs
- 📝 Recipe Card
Mastering the Classic French Silk Pie
The first time I heard the term "shatter" used to describe a pie crust, I didn't quite get it. Then, I sat in my grandmother's sunlit kitchen, watching her slice into a chilled French Silk Pie. The sound was like a tiny pane of glass breaking crisp, clean, and promising.
Then came the filling, a chocolate cloud so light it felt like it might float off the plate if you didn't pin it down with a fork. It wasn't heavy or cloying like a fudge brownie; it was purely, unapologetically silky.
I used to be terrified of making this at home. I thought you needed a professional pastry degree to get that specific airy lift. But here's the secret: it's not about being a pro; it's about being patient.
I once tried to rush the egg beating process because my arm was tired, and I ended up with a grainy, flat mess that tasted more like sweetened butter than a dessert. This recipe is my love letter to that experience taking the time to do it right so you get that "shatter" and that "silk" every single time without breaking the bank.
This isn't your average chocolate pie. We are skipping the expensive gourmet chocolate bars and using smart, accessible ingredients like unsweetened baking chocolate to keep things budget friendly. By controlling the sugar and the air ourselves, we create a result that tastes far more expensive than it actually is.
Trust me, once you see those chocolate curls sitting on top of a mountain of whipped cream, you'll never go back to the store-bought version.
The Science of Velvety Mousse
The secret to this specific chocolate texture lies in a process called Mechanical Aeration. By beating the eggs for exactly five minutes each, we aren't just mixing; we are forcing millions of tiny air bubbles into the fat structure of the butter and chocolate.
These bubbles stay trapped, giving the pie its signature "silk" feel.
Another key factor is Sugar Dissolution. If you don't beat the sugar and butter long enough, the sugar crystals remain solid, creating a gritty texture on the tongue.
The friction of the beaters generates just enough heat to help those crystals bond with the fat, resulting in a perfectly smooth, velvety finish that melts the moment it hits your mouth.
| Method | Time | Texture | Best For |
|---|---|---|---|
| Traditional Silk | 20 mins beating | Airy and cloud like | Special occasions |
| Instant Pudding | 5 mins mixing | Dense and gelatinous | Quick kids' snacks |
| Cooked Custard | 15 mins stovetop | Thick and creamy | Warm pie lovers |
The difference between a classic silk and a standard chocolate pie is all in the eggs. In this version, we use the friction of the mixer to create stability. While some people worry about raw eggs, the heavy beating and the addition of warm (but not hot) melted chocolate creates an environment where the eggs are effectively incorporated into the fat. If you prefer a cooked base, you might want to look at my Chocolate Cream Pie recipe for a different approach.
Component Analysis for Better Baking
Understanding why we use specific ingredients helps us make better choices at the grocery store. For this French Silk Pie, we are looking for a balance of high fat and structural integrity.
| Ingredient | Science Role | Pro Secret |
|---|---|---|
| Unsalted Butter | Provides the creamy "melt" point | Use high-quality European style if on sale for more fat |
| Large Eggs | Act as an emulsifier and air trap | Must be room temperature to volume properly |
| Unsweetened Chocolate | Provides deep cocoa solids without extra sugar | Melt and cool to 110°F (43°C) before adding |
| Heavy Cream | Adds lightness and stability | Keep it ice cold until the very second you whip it |
Because we are using unsweetened chocolate, we have full control over the sweetness. This is a great budget tip because unsweetened baking chocolate is often cheaper per ounce than high end semi sweet bars, yet it provides a much more intense chocolate flavor.
Pantry Elements and Budget Substitutions
You don't need a trip to a specialty store for this. Most of these items are already in your kitchen. If you love this kind of texture, you'll also find similar techniques in my Vanilla Mousse recipe.
- 1.5 cups all purpose flour:Why this? Provides the structure for a sturdy, flaky crust.
- 10 tbsp cold unsalted butter, cubed:Why this? Cold fat creates those distinct layers in the pastry.
- 1 cup granulated sugar:Why this? Sweetens the filling while providing friction for aeration.
- 4 large eggs:Why this? The "glue" that holds the air bubbles in place.
- 4 oz unsweetened chocolate:Why this? Pure chocolate flavor without the added vegetable fats of chips.
- 1 cup unsalted butter, softened:Why this? Forms the base of the creamy mousse.
- 1 cup heavy whipping cream:Why this? Used for the pillowy topping that balances the rich chocolate.
| Original Ingredient | Substitute | Why It Works |
|---|---|---|
| Vanilla Paste | Vanilla Extract (1:1 ratio) | Extracts are cheaper and provide the same flavor, just minus the seeds. |
| Unsweetened Chocolate | Cocoa Powder + Oil | Mix 3 tbsp cocoa + 1 tbsp oil per 1 oz chocolate. Note: Texture will be slightly softer. |
| Sea Salt | Table Salt (use 1/4 tsp) | Sea salt has larger flakes; table salt is denser, so use less. |
Chef's Tip: Freeze your butter for 10 minutes before cubing it for the crust. This ensures the butter doesn't melt into the flour, which is the secret to a crust that shatters rather than crumbles.
Essential Tools for Home Cooks
You don't need a $500 stand mixer to make a world class French Silk Pie. While it makes the 20 minute beating process easier, a standard hand mixer works perfectly fine it just counts as your arm workout for the day!
- Large Mixing Bowl: Glass or metal is best for the filling to keep things cool.
- 9 inch Pie Plate: Standard glass or ceramic works best for even browning.
- Rolling Pin: Or a smooth wine bottle if you're in a pinch!
- Whisk Attachment: Essential for getting that heavy cream to stiff peaks.
- Parchment Paper: For blind baking the crust to prevent it from shrinking.
The Detailed Cooking Process
1. The Foundation: Blind Baking
Combine the flour and sea salt. Work the 10 tbsp of cubed cold butter into the flour until it looks like coarse crumbs. Add ice water one tablespoon at a time until the dough just holds together. Roll it out, fit it into your pie plate, and prick the bottom with a fork.
Chill for 30 minutes. Line with parchment, fill with beans or pie weights, and bake at 400°F (200°C) for 15 minutes until the edges are pale gold. Remove weights and bake 5 more minutes until the bottom is dry.
Let it cool completely.
2. The Tempering Phase
Melt the 4 oz of unsweetened chocolate in a microwave safe bowl in 30 second increments. Note: Stir between each burst to prevent burning. Set it aside to cool until it is no longer hot to the touch but still liquid. This prevents the butter in the next step from melting instantly.
3. Creating the Butter Base
In a large bowl, cream the 1 cup of softened butter and 1 cup of granulated sugar. Beat for at least 3 minutes until the mixture is pale and fluffy. Pour in the cooled chocolate and 1 tsp vanilla extract, mixing until combined.
4. The Intensive Aeration
This is where the magic happens. Add one egg to the chocolate mixture. Beat on medium high speed for exactly 5 minutes. Note: Use a timer; don't guess. Repeat this for each of the 4 eggs, beating for 5 minutes after each addition.
The mixture will transform from dark and heavy to light, voluminous, and glossy.
5. The Five Minute Rule
After the final egg is in, scrape the sides of the bowl. Add the 0.66 cup of cold heavy cream. Beat for another 2 minutes until the filling looks like thick velvet. This extra bit of cream at the end adds a final layer of stability to the mousse.
6. The Deep Chill
Spoon the filling into your cooled pie crust. Smooth the top with a spatula. Place the pie in the fridge for at least 6 hours, though overnight is much better. Note: This allows the fat to solidify and the flavors to meld.
7. The Final Flourish
Just before serving, whip the remaining 1 cup of heavy cream with 2 tbsp powdered sugar and 1 tsp vanilla paste until stiff peaks form. Spread it over the chilled pie. Use a vegetable peeler to create curls from the dark chocolate and sprinkle them over the top.
Troubleshooting Common Texture Issues
Why Your Filling Is Grainy
If your pie feels like it has sand in it, the sugar didn't dissolve. This usually happens if the butter was too cold or you didn't beat the mixture long enough before adding the eggs.
| Problem | Root Cause | Solution |
|---|---|---|
| Grainy Texture | Sugar crystals didn't melt | Beat butter and sugar for 3+ minutes before eggs. |
| Runny Filling | Eggs weren't beaten long enough | Ensure a full 5 minutes per egg to build structure. |
| Soggy Crust | Filling added to warm crust | Let crust cool completely to room temperature first. |
Common Mistakes Checklist
- ✓ Room Temp Eggs: Cold eggs will seize the butter, making the filling lumpy.
- ✓ Cool the Chocolate: Adding hot chocolate to butter will melt it into a soup.
- ✓ Don't Skip the Timer:5 minutes per egg feels like an eternity, but it is mandatory.
- ✓ Full Fat Cream: Do not use half and half for the topping; it won't hold its shape.
- ✓ Prick the Crust: This prevents "air bubbles" from lifting the pastry off the pan.
Customizing Your Chocolate Creation
While the classic is hard to beat, you can easily tweak this to fit your budget or taste preferences. If you want a more intense flavor, try adding a teaspoon of espresso powder to the melted chocolate. It doesn't make it taste like coffee; it just makes the chocolate taste "more" like chocolate.
For a larger crowd, you can double the crust and the topping, but I recommend only increasing the filling ingredients to 1.5x the original amount. The filling is very rich, and a little goes a long way.
When scaling up, keep the beating time the same the volume increases, but the physics of the egg structure remains the same.
| If you want... | Then do this... |
|---|---|
| Extra Crunch | Swap the pastry crust for a crushed graham cracker or Oreo base. |
| Salted Caramel | Drizzle salted caramel sauce over the chocolate layer before adding cream. |
| Mocha Flavor | Add 1 tbsp of instant espresso powder to the melted chocolate. |
Guidelines for Storage and Freezing
Because this pie contains dairy and eggs, it needs to stay chilled. It will stay fresh in the fridge for up to 4 days if covered tightly with plastic wrap.
Freezing Instructions: You can freeze the pie (without the whipped cream topping) for up to 2 months. Wrap it in a double layer of plastic wrap and then foil. To serve, thaw it in the fridge overnight. Do not thaw on the counter, or the mousse will lose its structural integrity.
Zero Waste Tip: Don't toss those pastry scraps! Roll them out, sprinkle with cinnamon and sugar, and bake them alongside the pie for 10 minutes. They make the best little snacks while you wait for the pie to chill.
Busting Common Baking Myths
One of the biggest myths is that you need "Stabilized Cream" with gelatin to keep the topping from melting. If you whip your heavy cream to true stiff peaks and add it to a cold pie, it will hold its shape for hours.
Another myth is that you can't over beat the eggs. While rare, if you beat them for 10-15 minutes each, you can actually break the emulsion, causing the butter to separate. Stick to the 5 minute rule for the best results.
Ideal Beverage and Plate Pairings
This pie is incredibly rich, so you want something to cut through the fat. A sharp, acidic coffee or a glass of cold milk is the traditional choice. If you're serving this at a dinner party, a glass of tawny port or a dry raspberry lambic provides a beautiful contrast to the deep cocoa notes.
For a bright contrast, serve each slice with a few fresh raspberries or a sprig of mint. The tartness of the berries wakes up the palate between those velvety bites of chocolate silk. Enjoy your homemade masterpiece!
Recipe FAQs
What is French silk pie made of?
It contains a chocolate, butter, and egg-based mousse filling in a flaky pastry crust. The signature texture relies on heavily aerated eggs, melted chocolate, and sugar that is meticulously beaten into a creamy, velvety structure.
What is the difference between a French silk pie and a chocolate cream pie?
French silk pie filling is uncooked and relies on beaten eggs for its airy, mousse like texture. A chocolate cream pie typically uses a cooked custard base thickened with cornstarch or flour, resulting in a denser, smoother product, similar to what you'd find in a Chicken Casserole recipe filling, just chocolate flavored.
Is it okay to eat raw eggs in a French silk pie?
Consumption of raw eggs carries an inherent risk, though the preparation minimizes it. The intensive beating process incorporates air and generates slight heat, effectively tempering the eggs within the butter and chocolate matrix, but the eggs are not pasteurized by cooking.
Why is it called a French silk pie?
The name refers to the pie’s extremely smooth, light, and luxurious texture, reminiscent of fine silk. Despite the name, the origin is generally credited to American cooks, popularized in the Midwest, rather than classical French patisserie techniques.
How do I ensure the filling is truly silky and not grainy?
Beat the sugar and butter together for at least three minutes until pale before adding any eggs. Undissolved sugar crystals cause grittiness; the friction from the mixer helps dissolve them into the fat for that melt-in-your mouth finish.
How do I keep the crust from shrinking while blind baking?
Chill the dough for at least 30 minutes before baking and use pie weights or dried beans. Covering the dough with parchment paper before adding the weights ensures even contact and prevents the bottom from bubbling up or pulling away from the edges during the initial heat blast.
Can I use milk instead of heavy cream in the mousse filling?
No, substituting milk will result in a runny, unstable filling that will never set correctly. Heavy cream (with its high fat content) is essential because it traps the air bubbles beaten into the eggs, providing the necessary structure for the filling to hold its shape after chilling.
Classic French Silk Pie Recipe