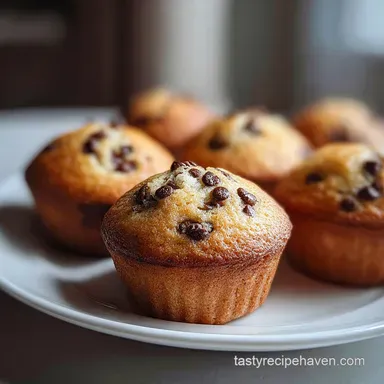
Mini Chocolate Chip Muffins: Buttery and Soft
- Time: Active 15 minutes, Passive 10 minutes, Total 25 minutes
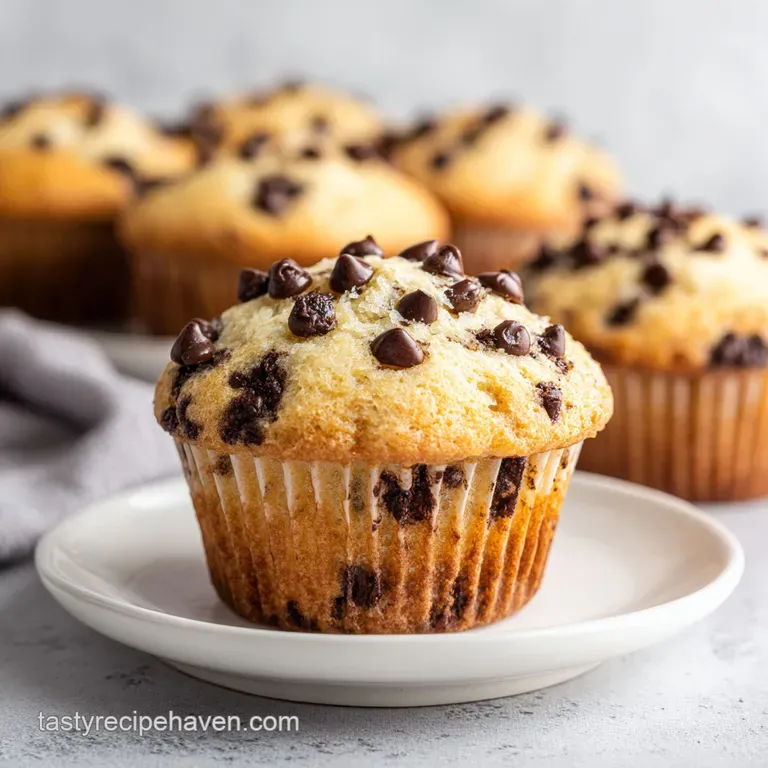
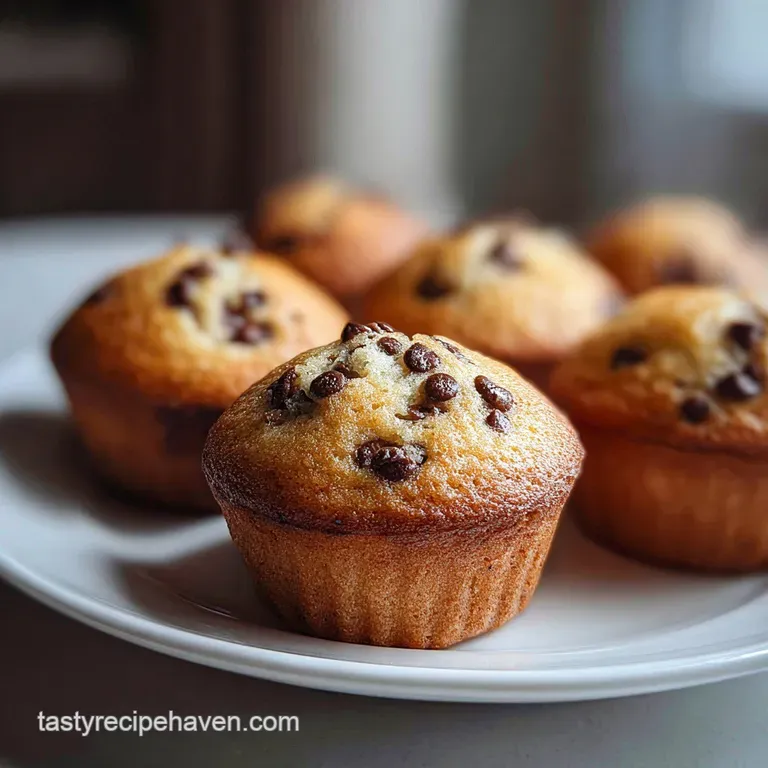
- Flavor/Texture Hook: Fluffy, buttery crumb with pockets of melty semi sweet chocolate
- Perfect for: School lunchboxes, quick grab-and-go breakfasts, or toddler sized treats
Why These Mini Chocolate Chip Muffins Work
Imagine the smell of warm vanilla and melting chocolate wafting from your kitchen on a rainy Tuesday morning. That was me last week, hovering by the oven door, waiting for that first "pop" of the batter rising over the rim of the tin.
I used to think mini muffins were just regular muffins that got ignored and turned dry, but these are a different breed entirely. They have that signature shatter crisp top and a velvety center that feels like a hug for your taste buds.
We've all been through the struggle of "muffin stumps" those sad, flat little circles that stick to the paper. I spent months tweaking the moisture levels because I wanted something that felt substantial but still airy.
After a few "science experiments" in my own kitchen, I realized the secret isn't just in what you add, but how you treat the ingredients before they even hit the heat.
The first time I got these right, my kids finished the whole batch of 24 before they even hit the cooling rack. It taught me that precision with the flour weight and the temperature of your milk makes all the difference.
You aren't just making a snack; you're making a tiny bit of bakery style luxury that fits in the palm of your hand.
- over High heat Lift: Starting with a 400°F (200°C) oven creates an immediate steam burst for tall, domed tops.
- Double Sugar Synergy: Using both granulated and brown sugar provides crisp edges while keeping the crumb moist.
- Miniature Distribution: Small chips have more surface area per gram, ensuring chocolate is evenly suspended throughout the batter.
- Oil Based Tenderness: Vegetable oil stays liquid at room temperature, preventing the muffins from becoming hard or crumbly.
The Physics of the Rise
The high initial temperature causes the leavening agents to react violently, pushing the batter upward before the crust sets. This creates a vertical expansion that results in a light, airy internal structure instead of a dense, flat disc.
| Servings | Ingredient Adjustments | Pan Size | Cook Time |
|---|---|---|---|
| 12 Muffins | 95g Flour, 50g Sugar, 40ml Oil | 12 cup mini tin | 9-10 minutes |
| 24 Muffins | 190g Flour, 100g Sugar, 80ml Oil | 24 cup mini tin | 10-11 minutes |
| 48 Muffins | 380g Flour, 200g Sugar, 160ml Oil | Two 24 cup tins | 12-14 minutes |
Choosing the right batch size is the first step in your morning flow. If you are baking for a crowd, keep in mind that overcrowding the oven can drop the temperature, so you might need to add a minute or two to the timer.
Essential Recipe Details
When we talk about baking, the numbers are your best friends. I once tried to eyeball the flour for these and ended up with something closer to a biscuit than a muffin. To get that silky texture, we need to be specific.
We are aiming for a yield of 24 muffins, each coming in at around 116 calories, which makes them a guilt free addition to a morning coffee or a lunch bag.
The prep flow is quick you'll spend about 15 minutes whisking and scooping, followed by a lightning fast 10 minutes in the oven. It is the kind of recipe you can start when the kids wake up and have on the table by the time they've found their shoes.
| Ingredient | Science Role | Pro Secret |
|---|---|---|
| All Purpose Flour | Provides the structural framework via gluten | Weighing it prevents a "rubbery" or dry texture |
| Baking Powder | Primary chemical leavener for height | Ensure it is fresh by testing a pinch in hot water |
| Vegetable Oil | Coats flour proteins to limit gluten | Using oil instead of butter keeps the crumb softer longer |
| Whole Milk | Hydrates starches and adds richness | Use room temperature milk to prevent the oil from curdling |
Key Ingredient Breakdown
To get the results we want, let's talk about the elements on your counter. Using 190g (1 ½ cups) of All Purpose Flour is the sweet spot for a crumb that isn't too heavy. I always reach for a high-quality vanilla extract 1 tablespoon might seem like a lot, but it provides that professional bakery aroma that lingers in the house.
For the chocolate, we are using 130g (¾ cup) of Mini Semi Sweet Chocolate Chips. If you use regular sized chips, they often sink to the bottom and create a sticky mess on the liner. The mini version stays perfectly suspended. If you're looking for a different flavor profile, this batter is actually quite similar to my Banana Chocolate Chip recipe, though it is a bit lighter since it lacks the fruit puree.
- 190g All Purpose Flour: The base. Why this? Provides enough protein for structure without being as tough as bread flour.
- Substitute: 1:1 gluten-free baking blend.
- 100g Granulated Sugar: For sweetness and browning. Why this? Aids in the "shatter" texture of the muffin tops.
- Substitute: Caster sugar.
- 50g Light Brown Sugar: Adds moisture and a hint of caramel. Why this? The molasses keeps the center velvety.
- Substitute: Dark brown sugar (will add a deeper color).
- 120ml Whole Milk: The liquid base. Why this? Fat content helps tenderize the crumb.
- Substitute: Oat milk (full fat version).
- 80ml Vegetable Oil: The fat. Why this? Guarantees a moist bite even on day three.
- Substitute: Melted coconut oil (adds a slight tropical scent).
- 130g Mini Chocolate Chips: The star of the show. Why this? Even distribution in every tiny bite.
- Substitute: Finely chopped dark chocolate bar.
Chef's Tip: Toss your mini chocolate chips in a teaspoon of the measured flour before adding them to the batter. This "velcro" effect prevents them from sliding to the bottom of the tin during the first few minutes of baking.
Simple Tools Required
You don't need a fancy stand mixer for this. In fact, using one might actually ruin the muffins by overworking the batter. All you really need is a large mixing bowl, a whisk, and a rubber spatula. For the most consistent results, a 24 count mini muffin tin is essential.
If you don't have liners, you can grease the tins with a bit of butter and a dusting of flour, but I find that paper liners make the cleanup so much easier. A small cookie scoop (about 1 tablespoon size) is also a life saver for getting the batter into those tiny cups without making a giant mess on the tray.
The step-by-step Guide
Right then, let's get into the flow of the kitchen. Preheating is the most important step here, so don't skip it. We want that oven screaming hot when the tray goes in.
- Heat the oven. Set your oven to 400°F (200°C) and line your 24 cup mini muffin tin. Note: A hot oven is the only way to get those tall domes.
- Whisk the dry base. Combine 190g flour, 100g white sugar, 50g brown sugar, 2 tsp baking powder, and 0.5 tsp salt in a large bowl.
- Emulsify the wet ingredients. In a separate jug, whisk 120ml milk, 80ml oil, 1 egg, and 1 tbsp vanilla until the egg is fully incorporated and pale.
- Create a well. Push the dry ingredients to the sides of the bowl to make a hole in the center.
- Merge the mixtures. Pour the wet ingredients into the well and fold gently with a spatula.
- Stop mixing early. Fold only until you see a few streaks of flour remaining. The batter should look slightly lumpy.
- Fold in the chips. Add 130g mini chocolate chips and give it two or three final turns.
- Portion the batter. Fill each muffin cup nearly to the top using a scoop.
- Add the sparkle. Sprinkle 1 tbsp coarse sugar over the tops until they look like they’ve been dusted with frost.
- Bake and check. Bake for 10 minutes until the tops spring back when lightly touched.
| Original Ingredient | Substitute | Why It Works |
|---|---|---|
| Whole Milk | Plain Greek Yogurt | Adds tang and more protein. Note: Batter will be much thicker |
| Vegetable Oil | Melted Butter | Enhances flavor significantly. Note: Muffins may dry out faster at room temp |
| All Purpose Flour | Pastry Flour | Creates an even softer, cake like texture |
I usually prefer the oil version for longevity, but if I'm serving these immediately at a brunch, the butter substitution adds a richness that is hard to beat. If you use yogurt, you might need to add an extra tablespoon of milk to get the right consistency.
Fixing Common Baking Errors
Nothing is worse than pulling a tray out and seeing flat, sad little cakes. Usually, this happens because the baking powder has lost its oomph or the oven wasn't actually at 400°F (200°C).
If your muffins are sticking to the liners, it might be that they haven't cooled enough; the steam needs a few minutes to settle so the cake releases from the paper.
Why Your Muffins Are Dense
If you over mix the batter, you develop the gluten in the flour too much. This creates a bread like, rubbery texture instead of a soft crumb. You want to stop mixing the second that white flour disappears. If your batter is completely smooth, you’ve likely gone too far.
| Problem | Root Cause | Solution |
|---|---|---|
| Sunken Tops | Oven door opened too early | Keep the door closed for at least the first 8 minutes |
| Dry Crumb | Too much flour (over packed cup) | Use a scale to measure 190g exactly |
| Burnt Bottoms | Thin baking sheet or low rack | Move the rack to the middle or use a double layered tin |
Common Mistakes Checklist
- ✓ Checking the expiration date on your baking powder (it only lasts about 6-12 months).
- ✓ Filling the muffin tins at least 3/4 full to encourage height.
- ✓ Letting the muffins sit in the hot tin for only 5 minutes before moving to a rack.
- ✓ Avoiding the "over stir" ten folds is usually enough once the liquids are in.
- ✓ Ensuring the egg is at room temperature so it emulsifies properly with the oil.
Adjusting Recipe Scale
If you are cooking for a small household, you can easily cut this recipe in half. Since it calls for one egg, simply beat the egg in a small bowl and use about 2 tablespoons of it for a half batch. Use a 12 cup mini tin and keep the baking time the same, as the individual volume of each muffin doesn't change.
Scaling up for a party is just as easy. If you are doubling the batch to 48, I recommend mixing the dry and wet ingredients separately in two different bowls and combining them in stages. This prevents the flour at the bottom from being missed during the folding process.
For large batches, I find that 1.5x the vanilla is usually plenty, as the flavor is quite potent.
| Method | Time | Texture | Best For |
|---|---|---|---|
| Standard Oven | 10 minutes | Golden, domed, crisp top | Traditional results |
| Stovetop Steam | 15 minutes | Pale, incredibly moist, dense | No oven kitchens |
| Air Fryer | 8 minutes | Very crunchy exterior | Small batches (6-8) |
While the oven is my go to, the air fryer is surprisingly efficient for a quick snack. Just be sure to lower the temperature to 375°F (190°C) to prevent the tops from burning before the centers are set.
Myths About Muffin Batters
One common myth is that you must use butter for a "good" muffin. While butter adds flavor, oil actually provides a superior texture for mini treats. Oil coats the flour molecules more effectively, leading to a more tender bite that doesn't turn into a rock when it cools down.
Another misconception is that the batter needs to be perfectly smooth. In fact, a lumpy batter is a sign of a great muffin. Those small lumps of flour will hydrate in the oven's heat, leaving behind tiny air pockets that contribute to a light and fluffy interior.
If you whisk until smooth, you are inviting a tough, chewy result.
Storing and Freezing Tips
These muffins stay fresh at room temperature in an airtight container for up to 3 days. If you find they are losing their "shatter" on the top, a quick 5 second zap in the microwave will soften the chocolate and revive the crumb.
For longer storage, you can keep them in the fridge for a week, though they might get a little firm.
Freezing: These are the ultimate meal prep snack. Once completely cool, place them on a baking sheet in the freezer for an hour, then transfer them to a freezer bag. They will stay perfect for up to 3 months.
To eat, just pull one out and let it thaw on the counter for 20 minutes, or microwave for 15 seconds.
Zero Waste: If you have leftover muffins that have gone a bit stale, don't toss them! Crumble them up and use them as a topping for vanilla yogurt, or even better, toss them into a blender with some milk and ice cream for a "muffin shake." You can also use the leftover crumbs as a base for a mini cheesecake crust.
Best Ways to Serve
I love serving these as part of a larger brunch spread. They look adorable piled high in a wicker basket lined with a linen cloth. If you want to get a little fancy, serve them with a side of whipped honey butter or a small dish of strawberry jam.
They are also the perfect size to go alongside a bowl of fruit or as a side to a savory egg dish.
If you are looking for a breakfast specific variation that's even faster to put together, you might want to try a Pancake Mini Muffins recipe. They have a similar vibe but use a pancake style batter that's a bit more "syrup friendly."
Decision Shortcut: If you want a crunchier top, sprinkle extra coarse sugar or even a tiny pinch of sea salt before baking. If you want a toddler friendly version, swap the chocolate chips for blueberries or finely diced strawberries.
If you want a dessert style, serve them warm with a scoop of vanilla bean ice cream on top.
Quick Fix Guide
| Problem | Cause | Fix |
|---|---|---|
| Muffins are flat | Expired baking powder | Replace leavener and check oven temp |
| Chocolate is at bottom | Chips were too heavy | Use mini chips and toss in flour next time |
| Tough texture | Over mixing the batter | Fold gently and stop while lumps remain |
By focusing on these small details the room temperature ingredients, the over high heat start, and the gentle folding you'll end up with a batch of mini chocolate chip muffins that rival any professional bakery. They are simple, sweet, and exactly what a homemade snack should be.
Enjoy every tiny, chocolatey bite!
Recipe FAQs
Can I substitute the vegetable oil for melted butter?
Yes, but the texture will change. Butter provides superior flavor, but the oil used here coats the flour better, guaranteeing a softer crumb that stays moist longer, similar to the tender bite in our Bar Recipe.
How to ensure the mini chocolate chips don't sink to the bottom?
Toss the chips in a teaspoon of the measured flour first. This creates a light coating that helps the chips adhere to the batter structure as it sets in the oven.
What is the secret to achieving tall, domed muffin tops?
Start baking at a very high temperature, like 400°F (200°C). This shock of heat rapidly expands the leavening agents, forcing the batter up before the crust has time to set.
Is it true I must mix the batter until it is completely smooth?
No, this is a common misconception. Mixing until smooth overdevelops the gluten, resulting in a tough, chewy texture; stop folding as soon as the large streaks of dry flour disappear.
How to tell when mini muffins are perfectly baked without drying them out?
Gently touch the top center of a muffin to see if it springs back immediately. If it leaves an indentation, bake for one more minute; this sensory check is crucial for retaining moisture.
Can I freeze the batter ahead of time before baking?
Yes, you can freeze the scooped batter. Scoop the batter onto a lined sheet, flash freeze until solid, then transfer to a bag; this technique is similar to how we handle high hydration doughs in the Banana Nut Bread recipe for better proofing control.
What is the best way to substitute the sugar if I need less sweetness?
Reduce the granulated sugar by one-quarter, but keep the brown sugar intact. The brown sugar provides necessary molasses for moisture, which is more critical to texture than the granulated sugar's sweetness.
Mini Chocolate Chip Muffins