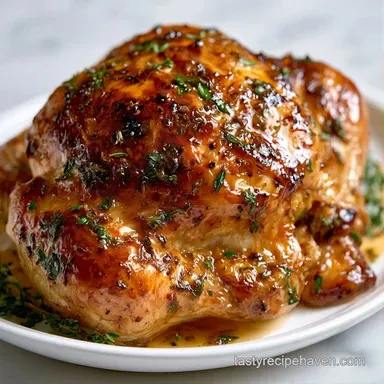
Homemade Rotisserie Chicken: Crispy Skin
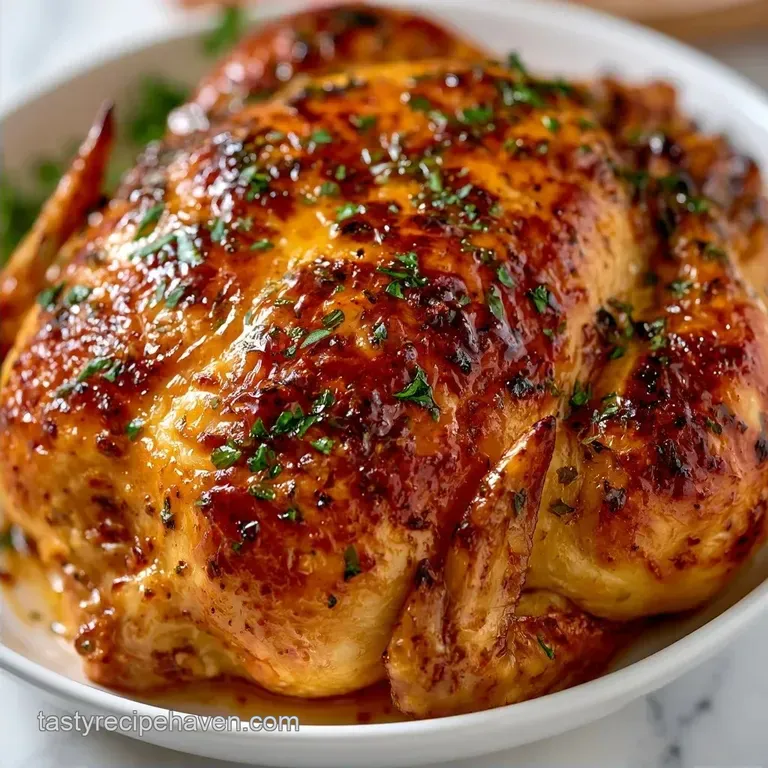
- Time: 20 min active + 90 min roasting
- Flavor/Texture Hook: Mahogany skin with a smoky, salty crust
- Perfect for: Sunday family dinner or impressive meal prep
Ever wondered why that supermarket rotisserie chicken smells so addictive? It's usually a mix of heavy brines and flavor enhancers. But you can get that same aromatic punch at home without the mystery ingredients.
I used to just roast chickens on a rack, but they always ended up with one side slightly overdone and the other too pale. Switching to a rotating spit changed everything. The meat essentially bastes in its own fat, which keeps the breast from drying out.
This Chicken On Rotisserie Recipe focuses on high heat and surface dryness. When you nail the prep, the bird comes out with a deep gold color and meat that pulls away from the bone effortlessly. My Chicken On Rotisserie Recipe is all about minimum cleanup and maximum flavor.
Quick Details
This setup serves about 8 people. You'll spend 20 minutes prepping the bird and 90 minutes letting the oven do the heavy lifting. The total time is 130 minutes, including the resting period.
The target temperature is 425°F (218°C). We are looking for a breast internal temperature of 165°F (74°C) and thighs hitting 175°F (79°C).
The Building Blocks
| Component | Purpose | Substitute Notes |
|---|---|---|
| Smoked Paprika | Adds deep mahogany color | Sweet paprika is milder |
| Lemon Juice | Cuts through the fat | Apple cider vinegar works |
| Kosher Salt | Draws moisture from skin | Table salt (use less) |
Right then, let's look at the supplies. I prefer using a slightly larger bird for better juice retention, but a 4-5 lb chicken is the sweet spot for a 90 minute cook.
| Original Ingredient | Substitute | Why It Works |
|---|---|---|
| Olive Oil (3 tbsp) | Avocado Oil | Higher smoke point. Note: Neutral flavor |
| Lemon Juice (1 tbsp) | White Wine Vinegar | Similar acidity. Note: Slightly sharper |
| Dried Oregano/Thyme | Italian Seasoning | Pre mixed herbs. Note: Less control over ratios |
The Shopping List:
- 1 (4 to 5 lb) whole chicken, giblets removed
- 3 tbsp extra virgin olive oilWhy this? Helps the rub stick and browns the skin
- 1 tbsp lemon juice, freshly squeezedWhy this? Tenderizes the meat slightly
- 1 tsp dried oregano
- 1 tsp dried thyme
- 1/2 tsp smoked paprikaWhy this? Gives that classic rotisserie color
- 1 tbsp kosher salt
- 1 tbsp garlic powder
- 1 tsp onion powder
- 1 tsp black pepper, freshly ground
- 1/2 tsp cayenne pepperWhy this? Adds a subtle warmth, not heat
Essential Tools
You obviously need a rotisserie oven or a standard oven with a rotisserie attachment. If you don't have one, a roasting rack is a fallback, though you'll lose that self basting effect.
A digital meat thermometer is non negotiable here. Guessing the doneness of a whole bird is how you end up with dry breasts. I also recommend kitchen twine for trussing.
Step-by-step Cooking
- Use paper towels to dry the chicken skin thoroughly. Note: Moisture on the skin creates steam, which prevents it from crisping
- Tie the legs securely with kitchen twine. This stops them from shifting and hitting the heating elements.
- Whisk the olive oil, lemon juice, oregano, and thyme together. Rub this mixture evenly under the breast skin and across the exterior.
- In a small bowl, mix the kosher salt, garlic powder, onion powder, black pepper, and cayenne.
- Generously apply the dry rub, pressing the spices firmly into the skin.
- Mount the chicken securely onto the rotisserie spit, ensuring it is centered to avoid any wobbling.
- Roast at 425°F (218°C). To get professional rotisserie results at home, remember to baste every 15-20 minutes. These extra juices keep the meat moist.
- Cook for 90 minutes until the breast reaches 165°F and thighs reach 175°F. A rich, savory aroma will fill your kitchen.
- Remove the bird from the spit and let it rest on a carving board for 15 to 20 minutes. Note: Slicing too soon allows the juices to leak out
Fixing Common Issues
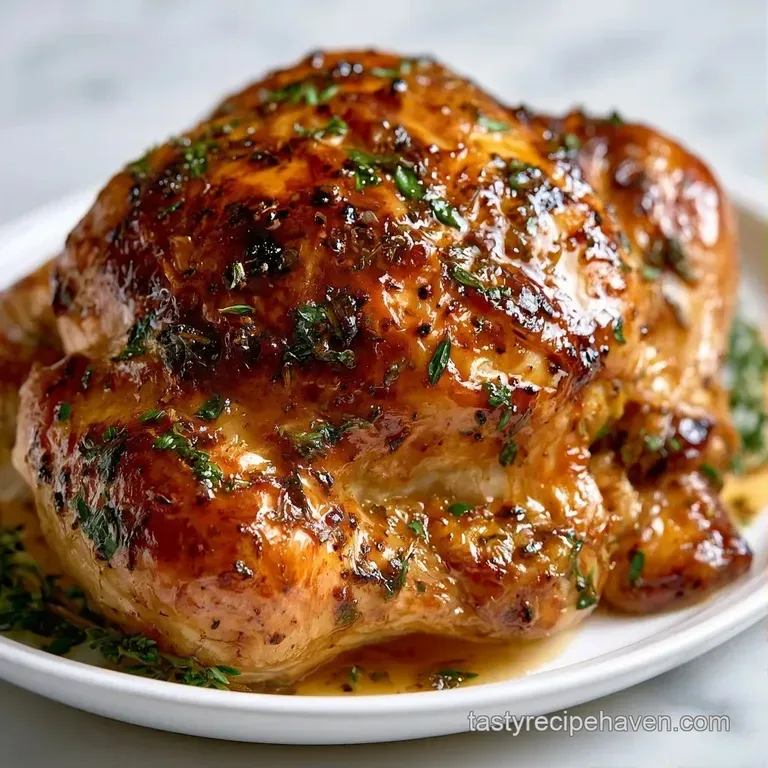
Preventing Dry Breast Meat
If the breast browns too fast while the thighs are still raw, the heat is too direct. Create a small tent of aluminum foil over the breast. This shields the lean meat while the darker meat catches up.
Fixing an Unbalanced Spit
A wobbly chicken creates uneven cooking and can stress your oven motor. If the bird leans, adjust the forks on the spit or add more twine to the legs. The Chicken On Rotisserie Recipe works best when the bird rotates smoothly.
Dealing with Pale Skin
This usually happens if the chicken was damp before roasting. Next time, leave the bird uncovered in the fridge for 4 hours before cooking. This dries the skin for a better sear.
Taste Variations
For a bit of a twist on this Chicken On Rotisserie Recipe, try a sweet and spicy finish. During the last 15 minutes of cooking, brush on some orange chicken sauce for a sticky, glazed crust.
If you want something more traditional, swap the paprika for a heavy dose of rosemary and butter. Trust me on this, the butter creates a richer, more golden skin, though it can splatter more in the pan.
| Goal | What to change |
|---|---|
| Extra Crispy | Air dry overnight |
| Spicier Bird | Double the cayenne |
| Leaner Option | Remove skin |
Storage and Waste
Keep leftover meat in a glass container for up to 3 days. To reheat, use a splash of water and cover with foil to keep the meat moist in the oven.
Don't toss the carcass. Toss the bones and any veggie scraps into a pot to make a rich stock. This broth is the base for an easy lentil soup that makes great use of those roasted flavors.
Serving Ideas
I love serving this Chicken On Rotisserie Recipe alongside some homemade dinner rolls to soak up the pan drippings. Roasted carrots or a simple arugula salad with lemon vinaigrette also balance the richness of the bird.
For a full meal, serve the chicken on a large platter surrounded by steamed broccoli and mashed potatoes. The mahogany skin looks great against the bright green vegetables.
Why Other Methods Fail
Rotating Heat: Standard roasting hits the top and bottom, but the sides stay pale. Rotation ensures every inch of the skin hits the heat, creating a uniform crust.
Self Basting: As the bird turns, the fat melts and flows over the meat instead of just dripping off. This keeps the interior velvety and moist.
Most people struggle with this Chicken On Rotisserie Recipe because they skip the drying phase. Moisture is the enemy of the sear.
| Aspect | store-bought | Home Rotisserie |
|---|---|---|
| Flavor | Generic salt/brine | Custom herb rub |
| Skin | Often rubbery | Shattering crisp |
| Ingredients | Preservatives | Whole foods |
Right then, that's how you handle the Chicken On Rotisserie Recipe. It takes a bit more effort than a grocery store run, but the taste is miles ahead. Let's crack on and get roasting.
Recipe FAQs
How long do you cook chicken in a rotisserie?
Roast for approximately 90 minutes at 425°F (218°C). Use a meat thermometer to confirm the breast reaches 165°F (74°C) and the thighs reach 175°F (79°C).
Is rotisserie chicken good for diabetics?
Yes, it is a high protein, low-carb option. Focus on the lean meat and avoid adding sugary glazes to keep blood glucose levels stable.
What makes a rotisserie chicken really good?
Patting the skin completely dry before seasoning is essential. This removes surface moisture, allowing the skin to crisp rather than steam during the roasting process.
Is it true that chicken crisps just as well without oil?
Actually, no. Olive oil is necessary for efficient heat conduction and helps the dry rub adhere to the skin for a golden brown finish.
What's the best way to use leftover rotisserie chicken?
Shred the meat for salads, tacos, or quick wraps. If you enjoy adding a savory glaze to proteins, try a homemade teriyaki sauce for a fast stir fry.
How to cook chicken for diabetic patients?
Prepare the bird using only the listed herbs and spices. Avoid adding honey or sugar based glazes to ensure the meal remains diabetic friendly.
Chicken On Rotisserie Recipe