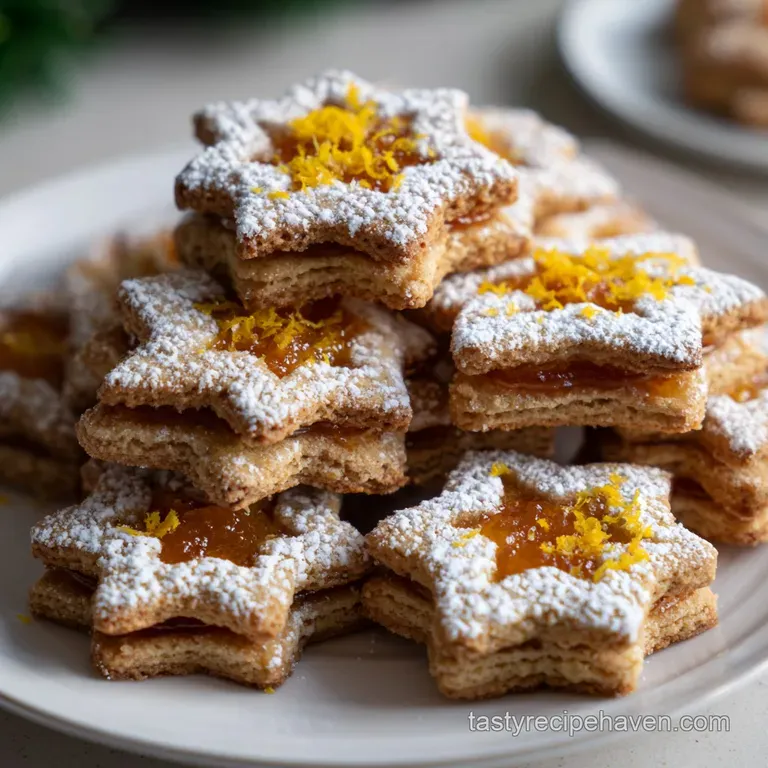
Christmas Cookies: Queens Festive Sugar Biscuits
- The Royal Standard of Christmas Cut-Out Cookies: Vanilla and Orange Zest
- The Science of a Perfect Holiday Biscuit: Flavor and Structural Integrity
- Mastering Your Misen Place: Essential Ingredients for Festive Baking and Smart Substitutions
- From Dough to Dazzle: Step-by-Step Guide to Baking Exceptional Christmas Cookies
- Expert Troubleshooting: Rescuing Sticky Dough and Correcting Uneven Baking
- Preserving the Holiday Magic: Storing Baked and Unbaked Festive Cookies
- The Grand Finale: Decorating and Pairing Your Queen's Biscuits
- Recipe FAQs
- 📝 Recipe Card
The Royal Standard of Christmas Cut-Out Cookies: Vanilla and Orange Zest
That smell. The minute you pull these perfect little biscuits out of the oven, the entire house instantly smells like pure holiday joy, butter, and bright orange sunshine. These are not just any baked goods; these are my absolute favorite classic vanilla cut-out Christmas Cookies .
If you’ve ever found yourself weeping over cookies that spread into amorphous blobs, this is the recipe that saves the day.
Honestly, this Christmas Cookies recipe is a genuine lifesaver for busy bakers. It’s fast to mix up, the ingredients are incredibly cheap, and the resulting dough is utterly foolproof, provided you follow the chilling rules (we will get to those, trust me).
It holds its shape perfectly, making it the ideal canvas for detailed festive work.
Forget the holiday stress; let's crack on and make a massive batch of the most reliably delicious and beautiful Christmas Cookies you've ever tasted. We’re going for a buttery, crisp edge, a chewy center, and zero spread. Prepare your rolling pins!
The Science of a Perfect Holiday Biscuit: Flavor and Structural Integrity
I spent years messing up sugar biscuits. Too crumbly, too tough, or worst of all, they spread so much the reindeer looked like blurry moose. The difference maker? Temperature control and the strategic use of baking powder, not soda.
This recipe for Christmas Cookies nails the balance between a melt-in-your mouth tender crumb and the structural integrity needed for intricate shapes.
Moving Beyond Traditional Shortbread Texture: Crisp Edges and Chewy Centers
We achieve this superior texture by creaming room temperature butter and sugar vigorously, incorporating necessary air before adding the flour. Shortbread often relies on cold butter and simple mixing, resulting in a very fine, crumbly bite.
Our goal here is a slight lift from the baking powder and a chewy interior, while still maintaining that fantastic buttery crispness around the edges the hallmark of the best homemade Christmas Cookies .
What Makes a Sugar Biscuit Perfect for Intricate Festive Designs?
Two words: Fat and Flour. We use just enough flour to create a stable network without over developing the gluten. Crucially, we use granulated sugar, which adds stability and promotes crisp edges better than powdered sugar in the initial dough.
And the cold fat ensures those delicate lines you cut out stay sharp when they bake. It’s a magic trick, and it all comes down to keeping that dough frosty! This is essential knowledge when baking dozens of perfect Christmas Cookies .
Getting Started: Essential Tools and Equipment Checklist
You don't need a fancy kitchen, but a stand mixer makes this exponentially faster. Otherwise, strong arms and a hand mixer will do. Do not skip the parchment paper —it’s vital for easy transfer and preventing sticking, especially with richly flavored Christmas Cookies .
The Power of Chilling: Preventing Cookie Spread in the Oven
This is the non-negotiable step. Chilling the dough initially firms up the butter. If you roll warm dough, the butter melts slightly, coating the flour particles. When the dough hits the hot oven, that melted butter spreads immediately, taking your delicate shapes with it.
By chilling the rolled and cut shapes right before baking, you hit the oven with super cold fat, allowing the flour structure to set before the butter has a chance to fully liquefy and spread.
That extra 15 minutes in the freezer is the secret to perfect Christmas Cookies .
Balancing Buttery Richness with Delicate Vanilla Notes
We use unsalted butter, allowing us to control the salt content, and we use a generous two teaspoons of high-quality vanilla extract. Using a paste instead of extract is even better, as those tiny flecks of vanilla seed look incredibly professional and deepen the aroma.
For these particular Christmas Cookies , the vanilla shouldn't fight the butter; they should sing in harmony.
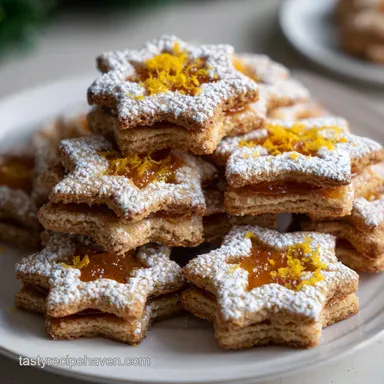
The Essential Role of Fresh Orange Zest in Brightening the Flavor Profile
Trust me on the orange zest! It’s what elevates these from great sugar biscuits to truly festive Christmas Cookies . The subtle, bright citrus note cuts through the richness of the butter and vanilla, providing a vibrant, memorable finish.
Use a fine microplane to get just the orange part the white pith underneath is bitter and nobody wants that in their holiday baking!
Mastering Your Misen Place: Essential Ingredients for Festive Baking and Smart Substitutions
Before you start any great baking project, get all your ingredients out and measured. I promise this prevents panicked measuring mid-mix. For this robust Christmas Cookies recipe, quality matters, especially with the vanilla and butter.
| Ingredient | Role in Recipe | Substitution Notes |
|---|---|---|
| Unsalted Butter | Richness, structure | Use high fat vegan block butter (not margarine). |
| Granulated Sugar | Crispness, sweetness | Caster sugar works great for a finer crumb. |
| All-Purpose Flour | Structure | 1:1 gluten-free Blend (ensure it has xanthan gum). |
| Large Egg | Binder, moisture | Use 1/4 cup applesauce or a flax egg (1 Tbsp flax + 3 Tbsp water). |
| Orange Zest | Flavor lift | Lemon zest or 1 tsp almond extract for variation. |
Achieving Peak Fluff: The Importance of Creaming Room Temperature Butter
Your butter must be soft enough to leave a small indent when pressed, but not shiny or greasy that’s melted, and melted butter yields flat cookies. Creaming the butter and sugar for 3- 4 minutes is when you whip tiny air pockets into the fat.
These air pockets expand in the oven, providing that lovely lift and contributing to the tender texture of the finished Christmas Cookies .
Sugar Type Matters: Choosing Granulated vs. Powdered for Optimal Dough Structure
I use granulated sugar here because its slightly sharper crystals help create those tiny air bubbles during the creaming process, and it helps the cookies retain a beautiful, defined edge.
Powdered sugar contains cornstarch and makes a dough that’s too soft for serious cut-out work, though it's perfect for the icing!
When to Use Vanilla Extract vs. Bean Paste: Maximizing Vanilla Notes
For standard everyday baking, pure vanilla extract is fine. But for these special Christmas Cookies , I always recommend vanilla bean paste. It has a richer flavor and depth, plus those adorable little black specks that make every biscuit look bespoke.
It’s worth the splurge, especially during the holidays!
Flour Power: Handling Gluten Development for a Tender Crumb
The biggest mistake bakers make is over mixing the flour. Once the flour hits the wet ingredients, gluten starts developing. The more you mix, the tougher the cookie becomes. Stop mixing the second you can no longer see streaks of dry flour. That short mixing time ensures you get beautifully tender, chewy Christmas Cookies . If you need to link to another great resource on this, my Sugar Cookies Recipe: Perfect No-Spread Vanilla Butter Base covers this concept in detail.
From Dough to Dazzle: step-by-step Guide to Baking Exceptional Christmas Cookies
The Creaming Stage: Incorporating Air for Optimal Lift
Start with that room temperature butter and your sugar. Whip them together for a full three minutes on medium speed, scraping down the bowl halfway through. The mixture should go from yellow to nearly white and dramatically increase in volume.
This is when the magic begins for our beautiful batch of Christmas Cookies .
Pressing and Chilling the Dough: The Secret to Flawless Cutting
Once the dough is just combined, turn it out onto a lightly floured surface. Do not knead it! Simply divide it into two discs and flatten them slightly before wrapping tightly. Flattening them now means less rolling later. Chill for a minimum of 60 minutes.
Seriously, this patience will pay off in perfect structural integrity for your Christmas Cookies .
Rolling Consistency: Maintaining Uniform Thickness for Even Baking
When rolling, aim for 6mm (or ¼ inch) thickness. If one side is thicker than the other, you'll end up with burned edges and raw middles. Use guide rails or dowels if you have them. Roll fast; you don't want the dough to warm up.
If it starts getting sticky, throw the whole piece back in the fridge for 10 minutes.
The Goldilocks Principle: Recognizing When Your Biscuits Are Fully Baked
The perfect Christmas Cookies are ready when the edges are set and just starting to turn light gold. The centers should still look soft or pale. They firm up beautifully on the cooling rack. My oven usually takes 10- 12 minutes per sheet.
If you wait until the entire top is golden brown, they will be overbaked and brittle.
Chef's Note: Using a light colored baking sheet helps prevent the bottoms of your delicate vanilla Christmas Cookies from scorching. Dark sheets retain heat too aggressively.
Expert Troubleshooting: Rescuing Sticky Dough and Correcting Uneven Baking
Why Your Cut-Outs Spread: Identifying Common Temperature and Flour Errors
The spreading issue almost always boils down to dough temperature or inaccurate flour measurement. If you scoop your flour directly from the bag, you’re likely using too much, leading to dense cookies. If you use melted or too-soft butter, the dough is unstable.
Always flash freeze the cut shapes for 10- 15 minutes before baking. This single step solves 90% of spreading problems when making Christmas Cookies .
Repurposing Dough Scraps Without Developing Toughness
When you gather your dough scraps, press them gently back into a disc. Do not ball them up and knead them like bread! Give them a quick re-chill— 15 minutes is usually enough.
This prevents you from overworking the gluten, ensuring your second and third batch of cut-outs are just as tender as the first. We want delicious, tender Christmas Cookies , not hockey pucks.
How to Prevent Scorching on the Bottoms of Light Colored Sugar Biscuits
If your cookie bottoms are burning before the centers are cooked, your oven might have hot spots or your tray is too dark. Try lowering your oven temperature by 10 15 degrees F (about 5 8 degrees C) and extending the baking time by two minutes.
Alternatively, place an empty baking sheet underneath the sheet holding the Christmas Cookies —this creates an air buffer and protects the bottoms.
Freezing Pre-Cut Dough Shapes for Advanced Preparation
This is peak holiday planning! Cut your shapes, place them on a parchment lined tray, and freeze them until solid (about 30 minutes). Then stack the frozen shapes in freezer bags or airtight containers with parchment between the layers. They will keep for up to three months.
When ready to bake, place them directly onto the prepared baking sheet and add 2- 3 minutes to the baking time for these exceptional freezer friendly Christmas Cookies .
Preserving the Holiday Magic: Storing Baked and Unbaked Festive Cookies
Optimal Storage for Iced vs. Un-Iced Biscuits
Un-iced Christmas Cookies can be stored in an airtight container at room temperature for up to a week. If you’ve decorated them with royal icing, ensure the icing is rock hard (this usually takes 4- 8 hours) before stacking them with parchment paper in between.
Do not use plastic wrap directly on the icing, or it will stick and ruin your beautiful designs!
The Ultimate Royal Icing Recipe Blueprint for Sharp Edges
Royal icing is the key to that professional, pristine look for your Christmas Cookies . Don’t use standard egg whites; use meringue powder for stability and safety.
- Stiff Consistency: This is for piping the outline (the dam). It should hold a sharp peak. Add liquid very slowly.
- Flooding Consistency: This is for filling the center. It should flow easily but set without running over the edges. Test the 15 second rule: a line dropped on the surface should disappear in 10 15 seconds. If it takes longer, it’s too thick; if it disappears instantly, it’s too thin.
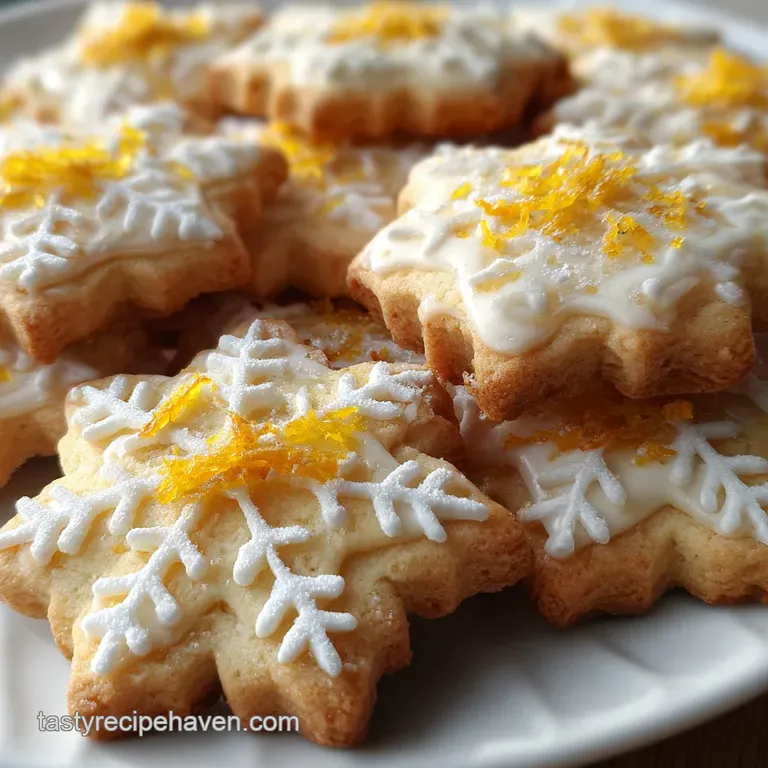
The Grand Finale: Decorating and Pairing Your Queen's Biscuits
These perfect cut-out Christmas Cookies are meant to be shown off! Once they are cooled completely and I mean completely, not even a hint of warmth you can start decorating.
Whether you’re flooding them in classic white or going wild with neon colors and edible glitter, they provide the perfect sturdy base.
Need more inspiration? If you want a little spice, you might want to try my Snickerdoodle Cookies Recipe: The Ultimate Crinkly Soft Classic next week. But for today, focusing on these traditional vanilla Christmas Cookies is paramount. They freeze beautifully, they travel well for gifts, and frankly, they are the best canvas for edible art. Bake these, and your neighbors will be knocking down your door! Happy holiday baking!
Recipe FAQs
Why are my Christmas cut-out cookies spreading and losing their shape?
Spreading usually occurs if the butter was too warm, or if the dough wasn't sufficiently chilled before baking. Ensure your dough chills for at least two hours, or even overnight, and work quickly to transfer the cut shapes directly onto cold baking sheets.
If your kitchen is particularly warm, pop the cut shapes back in the freezer for 5-10 minutes before baking to solidify the butter.
My dough is very sticky and difficult to roll out. What should I do?
Stickiness means the dough might have too much liquid or wasn't properly chilled before use. Try dusting your surface and rolling pin with a very light coating of flour, but incorporate as little extra as possible.
If it remains unworkable after a few attempts, wrap the dough and place it back into the refrigerator for another 30 minutes until it firms up.
Why are my cookies coming out crumbly and dry instead of tender?
This is typically caused by accidentally adding too much flour during the mixing or rolling process, or by over baking the cookies. Always spoon the flour into your measuring cup rather than scooping it from the bag for the most accurate measurement.
Pull the cookies from the oven when the edges are just starting to turn golden, as they will continue to set on the hot tray.
How far in advance can I make and store this cookie dough?
The unbaked dough can be tightly wrapped and stored in the refrigerator for up to 5 days, making it perfect for preparing ahead of a busy baking session. Alternatively, you can freeze the dough for up to 3 months; just ensure you wrap the disc twice in plastic wrap and then foil to prevent freezer burn, thawing overnight in the fridge before rolling.
Can I omit the orange zest and use a different flavoring?
Absolutely; the orange zest provides a beautiful festive aroma, but the recipe is very flexible with flavor changes. You can swap it for lemon zest, a strong almond extract, or festive spices like cinnamon or cardamom.
Maintain the total volume of extracts and zests specified in the recipe to avoid altering the dough's moisture balance.
Can I freeze the baked and decorated Christmas cookies?
Yes, these baked sugar cookies freeze very well, even those decorated with royal icing. Place the completely cooled cookies in a single layer in an airtight container, separated by wax or parchment paper to prevent sticking. Thaw them overnight completely at room temperature before serving to maintain the best texture.
Festive Vanilla Orange Cut Outs