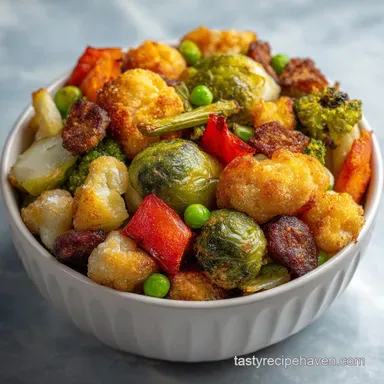
Frozen Veggies in Air Fryer
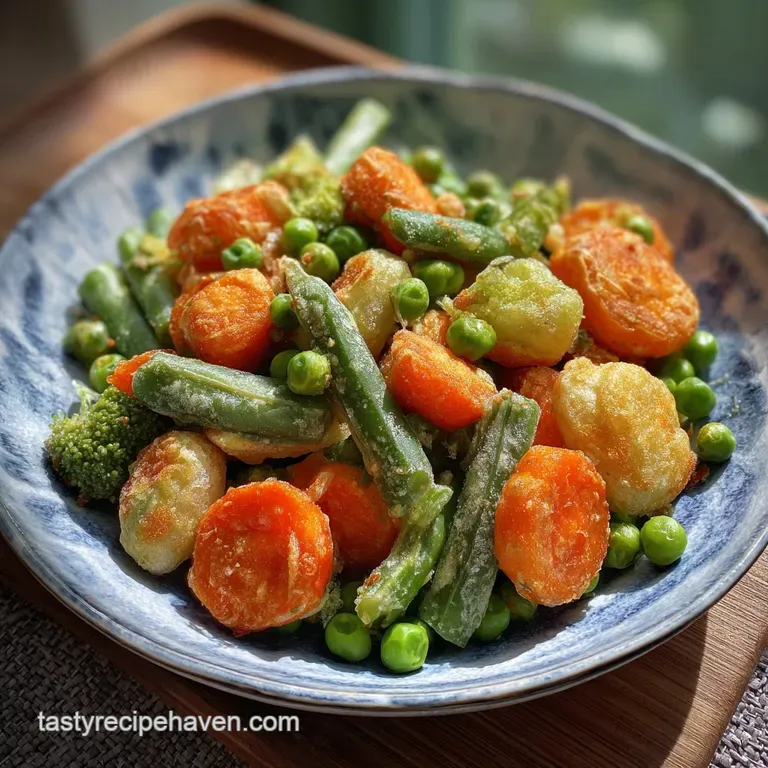
- Time: Active 2 mins, Passive 15 mins, Total 17 mins
- Flavor/Texture Hook: Savory charred edges with a satisfying snap
- Perfect for: Healthy weeknight sides and busy family dinners
- The Science of Flash Evaporation
- Crucial Stats for Your Side Dish
- Components for a Savory Flavor
- Gear Needed for Best Results
- Steps to Achieving Golden Char
- Common Pitfalls and Quick Fixes
- Creative Swaps for Different Tastes
- Storing and Repurposing Your Leftovers
- Perfect Main Dishes for Pairing
- Recipe FAQs
- 📝 Recipe Card
The sound of a bag of frozen broccoli hitting a hot air fryer basket is a sizzle that signals hope. We've all been there, standing in front of the freezer at 6:00 PM, wondering if those icicle covered florets can actually become something worth eating.
For years, I thought the only way to cook them was to steam them into a sad, watery heap, but the air fryer changed my entire approach to pantry based cooking.
Now, instead of limp carrots and mushy cauliflower, I get edges that shatter and centers that stay tender. It's about that specific aroma of toasted garlic and smoked paprika hitting the heating element, filling the kitchen with a scent that smells like you actually spent an hour prepping.
Trust me, once you see those golden brown tips on a frozen floret, you'll never go back to the microwave.
This recipe is built for the "I have no time" nights. We’re using 1 lb frozen mixed vegetables (broccoli, cauliflower, and carrots) straight from the bag, no thawing allowed.
By the time you've set the table and poured a glass of water, you have a vibrant, nutrient dense side dish that looks and tastes intentional. Let's get into how we make this magic happen without the soggy mess.
The Science of Flash Evaporation
The secret to why this method outperforms the oven lies in the physics of convection. While an oven surrounds food with hot air, an air fryer creates a high velocity wind tunnel that forces moisture out of the frozen produce at an accelerated rate. If you're looking for more quick sides, this Air Fryer Frozen recipe is my go to when I'm in a rush.
- Sublimation Surge: The intense heat converts ice crystals directly into steam, which is then immediately swept away by the fan, preventing the vegetables from sitting in a puddle.
- Maillard Acceleration: Because the surface dries so quickly, the natural sugars in the carrots and cauliflower can begin browning much sooner than they would in a traditional oven.
- Oil Conductivity: A thin layer of fat acts as a heat bridge, ensuring the hot air transfers energy efficiently into every nook and cranny of the vegetable.
| Method | Total Time | Final Texture | Best For |
|---|---|---|---|
| Air Fryer | 15-17 mins | Crispy edges, snappy centers | Maximum flavor with zero prep |
| Standard Oven | 35-40 mins | Soft, deeply caramelized | Large batches for holidays |
| Stovetop Sauté | 12-15 mins | Squeaky, often uneven | Small portions of single veggies |
Choosing the right method depends on your goals, but for frozen veggies in air fryer, the speed of the fan is your best friend. It manages the moisture levels so you don't end up with a "steamed" result.
Flash Evaporation Prevents Sogginess
By starting with a preheated basket, the exterior of the vegetables hits a high temperature surface immediately. This prevents the "thaw and drip" phase where vegetables usually lose their structural integrity. Instead, the water is whisked away before it can soften the cell walls of the broccoli and cauliflower.
Why 400°F Works Best
We need a temperature high enough to brown the outside before the inside turns to mush. At 400°F, we strike the balance between a deep golden char and a vegetable that still has a bit of "bite." Any lower, and you're just slow steaming them in the basket.
Understanding Oil Conductivity
The 1 tbsp extra virgin olive oil isn't just for flavor. It creates a "shimmer" on the surface that captures the moving hot air. Without it, the seasonings won't stick, and the vegetables will look dusty rather than roasted.
Crucial Stats for Your Side Dish
Before we start tossing things around, let's look at the "how" and "why" of our specific components. Understanding the role of each spice helps you adjust based on what you have in your pantry.
| Ingredient | Science Role | Pro Secret |
|---|---|---|
| 1 lb Frozen Mixed Veg | Base Structure | Keep them frozen until the second you air fry to preserve snap. |
| 1 tsp Smoked Paprika | Color/Umami | The phenols in the smoke mimic the flavor of an outdoor grill. |
| 1 tbsp Nutritional Yeast | Flavor Adhesion | Adds a "velvety" cheese like crust without the moisture of real cheese. |
This component analysis shows that we aren't just heating things up; we're building layers of texture. For a deeper earthy flavor, you might enjoy my air fried Mushrooms recipe.
Components for a Savory Flavor
I keep these ingredients in my pantry at all times because they are manageable and reliable. The lemon zest at the end is non negotiable for me, as it cuts through the earthy tones of the cauliflower and broccoli.
- 1 lb frozen mixed vegetables: I use a blend of broccoli, cauliflower, and carrots.
- 1 tbsp extra virgin olive oil: high quality oil provides better flavor. Why this? Essential for heat transfer and spice adhesion.
- 1 tsp garlic powder: Distributes more evenly than fresh garlic in over high heat air frying.
- 1/2 tsp smoked paprika: Provides that deep, charred "roasted" color.
- 1/2 tsp sea salt: Fine grain is best to coat every floret.
- 1/4 tsp cracked black pepper: Adds a necessary bite.
- 1 tbsp nutritional yeast: Why this? Creates a savory, nutty crust that stays crispy.
- 1 tsp lemon zest: Added after cooking to brighten everything up.
The Core Frozen Veggies
The standard mix of broccoli, cauliflower, and carrots is ideal because they have similar density. If you use a mix with peas or corn, keep in mind those will cook much faster and might get a bit "poppy."
The Flavor Boosting Infusion
The combination of nutritional yeast and garlic powder is my "secret weapon." It creates a dry rub that doesn't slide off into the bottom of the basket. It clings to the florets, creating a savory coating that browns beautifully under the heating element.
Gear Needed for Best Results
You don't need much for this, but the type of air fryer can change your timing. A basket style air fryer (like a Ninja or Cosori) usually provides better airflow than a toaster oven style.
Chef Tip: If you have a rack style air fryer, place the tray in the top third of the oven. This puts the veggies closer to the heating element, which is essential when working with frozen produce that needs to dry out quickly.
I also recommend a large stainless steel bowl for tossing. Doing this in the basket is messy and results in uneven seasoning. You want every carrot and floret to have its own little coat of oil and spices.
Steps to Achieving Golden Char
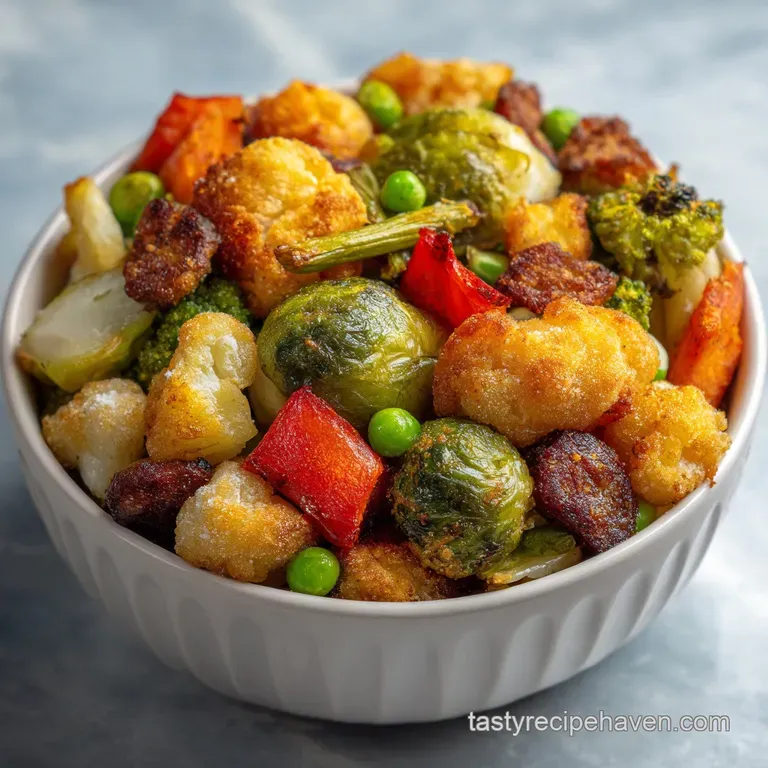
Let's walk through the flow. The key here is speed. Don't let those veggies sit on the counter sweating while you find your measuring spoons.
- Preheat air fryer. Set it to 400°F and let it run for 5 minutes. Note: A hot basket prevents sticking and starts the evaporation immediately.
- Prep the seasoning. Mix the garlic powder, smoked paprika, salt, and pepper in a small ramekin.
- Oil the vegetables. Place 1 lb frozen mixed vegetables in a bowl and drizzle with 1 tbsp extra virgin olive oil. Work quickly so they stay frozen.
- Apply the dry rub. Sprinkle the seasoning mix and 1 tbsp nutritional yeast over the oiled veggies.
- Toss vigorously. Ensure every piece is coated until the white frost is no longer visible.
- Load the basket. Spread the vegetables in an even layer. Listen for the sizzle when they hit the metal.
- Air fry first phase. Cook for 8 minutes at 400°F without opening.
- Shake the basket. Give it a good toss until you see charred edges appearing.
- Final cook. Air fry for another 5 to 7 minutes until the carrots are tender and broccoli is crispy.
- Finish and serve. Toss with 1 tsp lemon zest while still piping hot.
Phase 1: High Heat Preheat
Never skip the preheat. When you're putting frozen veggies in air fryer, you need the initial thermal shock to prevent them from turning into a soggy mess. If the basket is cold, the veggies will slowly thaw and release water before the air is hot enough to evaporate it.
Phase 2: Frozen State Seasoning
I've made the mistake of letting the bag sit out while I searched for my paprika. The result? A wet, clumpy mess. Keep the veggies in the freezer until the exact moment you are ready to toss and cook. This preserves the "snap" of the cell walls.
Phase 4: Final Texture Check
You'll know they are done when the tips of the broccoli florets look dark brown almost black and the cauliflower has brown spots. If they look "bright" and wet, they need another 2 to 3 minutes.
Common Pitfalls and Quick Fixes
Even with the best intentions, things can go sideways. The most common issue is the "soggy bottom" syndrome. But what about the seasoning falling off? We'll get to that.
Vegetables Still Limp?
This usually happens if you overcrowded the basket. If you have more than two layers of vegetables, the steam gets trapped between the pieces instead of being blown away. It's essentially like they are "blanketing" each other.
Seasoning Fell Off?
If your spices are at the bottom of the bin, you likely used too much oil or didn't toss them well enough while they were still frosty. The frost actually helps the oil and spices "glue" to the surface for a moment before they sear on.
| Problem | Root Cause | Solution |
|---|---|---|
| Soggy Veggies | Overcrowded basket | Cook in two batches or shake more often. |
| Burnt Spices | Basket was too close to element | Lower temp to 380°F for the last 5 mins. |
| Bland Flavor | Seasoned after cooking | Always oil and spice while frozen for better "sear." |
Common Mistakes Checklist:
- ✓ Never thaw the vegetables; cook them directly from frozen.
- ✓ Use a high smoke point oil like olive or avocado oil.
- ✓ Shake the basket at least twice to ensure even browning.
- ✓ Don't skip the preheating phase for at least 5 minutes.
- ✓ Add the lemon zest ONLY after the cooking is done.
Using Small Cut Veggies?
If you are using a "petite" blend, reduce the total cook time by about 3 to 4 minutes. Smaller pieces have more surface area relative to their volume, meaning they will dehydrate and burn much faster than large florets.
Creative Swaps for Different Tastes
The beauty of this recipe is how manageable it is to change the flavor profile. Honestly, don't even bother with low-fat substitutions here; you need the fat to get the crunch.
| Original Ingredient | Substitute | Why It Works |
|---|---|---|
| Extra Virgin Olive Oil | Avocado Oil | Higher smoke point. Note: Neutral flavor is better for spicy variations. |
| Nutritional Yeast | Grated Parmesan | Adds a salty, umami kick. Note: Can burn easier, so add in the last 3 mins. |
| Smoked Paprika | Chili Powder | Provides heat instead of smoke. Note: Changes the dish to a Tex Mex vibe. |
If you want a different vibe, try the "Zesty Ranch" variation. Just swap the paprika and nutritional yeast for a tablespoon of dry ranch seasoning mix. It's a huge hit with kids and makes the broccoli taste like a snack.
Mediterranean Style Variation
For a Mediterranean twist, swap the paprika for dried oregano and use a bit of feta cheese as a topping after the veggies come out of the air fryer. This pairs beautifully with grilled chicken or fish.
Handling Frozen Greens
If you're trying to do "Frozen Greens" like kale or spinach, be very careful. They have almost no mass and will fly into the heating element. It's better to stick to "hard" vegetables like the ones in our mix.
Storing and Repurposing Your Leftovers
Roasted vegetables are best eaten immediately, but you can definitely save them for later. I often make a double batch just to have them for my morning eggs.
Storage: Keep leftovers in an airtight container in the fridge for up to 4 days. I don't recommend refreezing them, as the texture will become grainy and mushy.
Reheating: Avoid the microwave at all costs! It will turn your beautifully charred veggies into rubber. Put them back in the air fryer at 380°F for 3 to 4 minutes. They will crisp right back up.
Zero Waste Tip: If you have a handful of leftover veggies that aren't enough for a full serving, chop them up and throw them into a frittata or a grain bowl. The charred flavor adds a ton of depth to a simple lunch.
I also save the "dust" at the bottom of the bag those tiny broken bits of broccoli and toss them in with the rest. They get extra crispy and act like vegetable croutons!
Perfect Main Dishes for Pairing
These vegetables are the ultimate "filler" for a healthy plate. They provide that bulk and fiber we all need without feeling like a chore to eat.
- Air Fryer Meatballs: Since your air fryer is already out, you can make a batch of my Air Fryer Meatballs recipe right after the veggies.
- Grilled Salmon: The lemon zest on the veggies ties in perfectly with a flaky piece of fish.
- Grain Bowls: Toss these over some quinoa with a dollop of hummus and a drizzle of tahini for a pantry based powerhouse meal.
Myths about Frozen Produce: "Frozen vegetables are less healthy than fresh." This is a total myth! Frozen vegetables are usually picked at peak ripeness and flash frozen immediately, locking in more nutrients than "fresh" veggies that have been sitting on a truck for a week.
"You must thaw frozen veggies before roasting." Absolutely not! Thawing creates a pool of water that prevents the Maillard reaction. Cooking from frozen is the only way to get that signature air fryer crunch.
Right then, let's crack on. Grab that bag from the back of the freezer and let's turn it into something velvety, charred, and genuinely satisfying. You've got this!
Recipe FAQs
Can I cook frozen vegetables in an air fryer?
Yes, absolutely! Cooking frozen vegetables in an air fryer is not only possible but often yields fantastic results with crispy edges and a tender interior, far better than steaming them into mush.
How long does it take to cook frozen vegetables in an air fryer?
Typically 15-20 minutes. The exact time depends on the type and size of the vegetables, as well as your specific air fryer model. Starting at 400°F for about 8 minutes, shaking the basket, and then cooking for another 5-7 minutes usually does the trick.
How long to air fry frozen vegetables at 400 degrees?
Around 15-20 minutes total. Start by air frying for 8 minutes at 400°F, shake the basket to ensure even cooking, and then continue for another 5-7 minutes until they reach your desired tenderness and crispiness.
Can you cook straight from frozen in an air fryer?
Yes, cooking straight from frozen is ideal. This method prevents the vegetables from releasing excess moisture too early, which is crucial for achieving that desirable crispy texture rather than a soggy outcome. If you enjoyed mastering this technique, see how the principle of cooking from frozen helps achieve tender results in our air fried Mushrooms recipe.
What is the best temperature for air frying frozen vegetables?
400°F (200°C) is generally best. This high temperature is essential for quickly evaporating the moisture from the frozen vegetables, promoting browning and crispiness on the outside before the inside becomes overcooked or mushy.
Should I use oil when air frying frozen vegetables?
Yes, a light coating of oil is recommended. A tablespoon of oil helps seasonings adhere, promotes even browning, and contributes to a crispier texture by conducting heat effectively. For other delicious vegetable preparations, consider our Vegetarian Raw Food Recipe with Zucchini Noodles which highlights fresh produce preparation.
How do I prevent frozen vegetables from becoming soggy in the air fryer?
Don't overcrowd the basket and ensure proper preheating. Overcrowding traps steam, leading to sogginess, while a preheated air fryer basket ensures immediate searing and moisture evaporation. Shaking the basket halfway through cooking also helps significantly.
Frozen Veggies Air Fryer