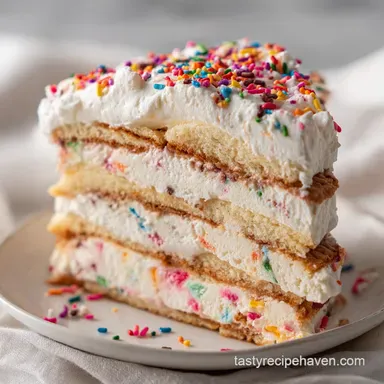
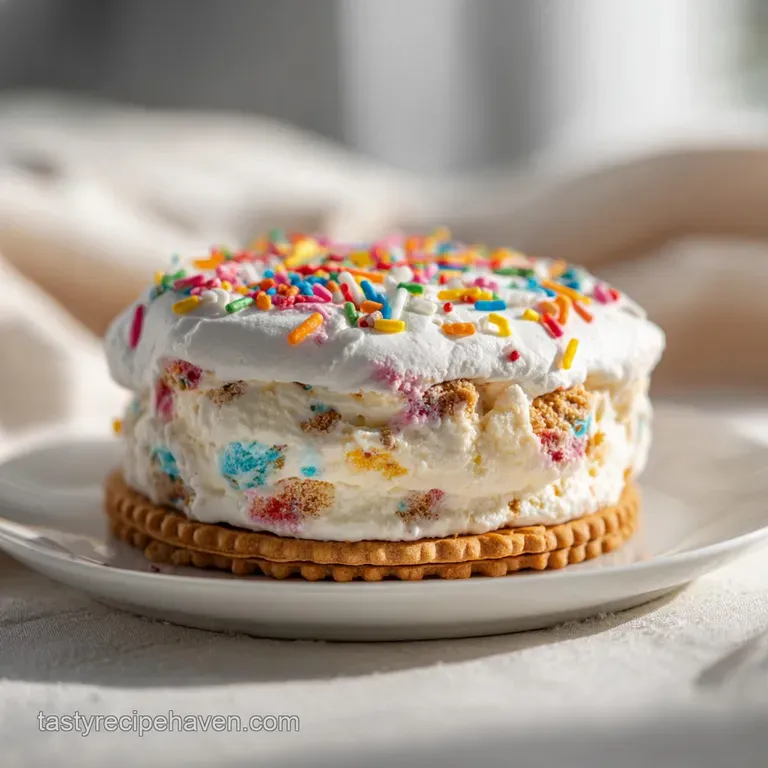
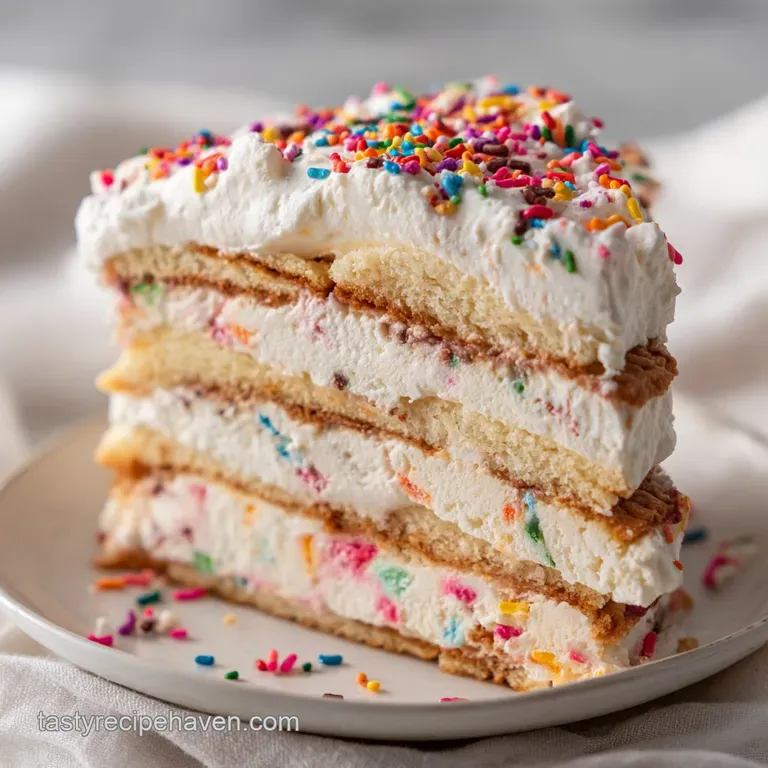
Ice Cream Sandwich Cake Recipe
- Time: Active 20 minutes, Passive 6 hours, Total 6 hours 20 mins
- Flavor/Texture Hook: Velvety cream meets a chocolate cookie shatter
- Perfect for: Outdoor summer parties or high impact, no bake entertaining
- Essential Culinary Mechanics Explained
- Fundamental Recipe Specifications
- Gathering Your Key Ingredients
- Required Professional Kitchen Tools
- Executing The Layering Process
- Avoiding Common Dessert Failures
- Creative Flavor Profile Variations
- Proper Storage And Maintenance
- Ideal Serving Pairings
- Recipe FAQs
- 📝 Recipe Card
Essential Culinary Mechanics Explained
The success of this dish relies on more than just stacking; it's about the physics of freezing. When we combine the heavy cream with Greek yogurt, we are creating a stabilized emulsion that remains scoopable even at sub zero temperatures.
- Cryo Stabilization: The high protein content in Greek yogurt acts as a structural scaffold, preventing the whipped cream from collapsing into an icy, hard slab.
- Thermal Buffering: Using a high fat cream creates a dense insulation layer that slows down the melting process once the cake is removed from the freezer.
- Moisture Migration: The maple syrup lowers the freezing point of the cream layer slightly, ensuring a silky mouthfeel rather than a gritty, crystalline texture.
Thermal Mass Stability
By layering the sandwiches tightly, you create a solid block of frozen material that holds its temperature. This thermal mass is what allows the cake to sit on a serving table for 15 minutes without losing its sharp, rectangular shape.
If you leave gaps between the sandwiches, air pockets will cause the cake to thaw unevenly from the inside out.
Stabilized Cream Emulsion
Unlike traditional whipped cream which can "bleed" water over time, our yogurt infusion method creates a tighter bond. This is crucial because the moisture from the cream would otherwise soak into the sandwich wafers, making them unpleasantly soggy instead of delightfully soft.
Layered Textural Contrast
The inclusion of 100g of crushed chocolate sandwich cookies provides a necessary "snap" against the soft cake. Since fat (from the cream) coats these crumbs, they maintain their structural integrity and don't absorb ambient moisture during the long freeze.
| Freezing Stage | Duration | Texture Goal | Visual Cue |
|---|---|---|---|
| Initial Anchor | 30 minutes | Tacky but firm | Sandwiches don't slide when tilted |
| Middle Set | 2 hours | Firm to touch | Topping doesn't stick to a finger |
| Deep Freeze | 4 hours | Solid core | Knife meets resistance at the center |
Fundamental Recipe Specifications
This recipe is designed for a standard 8x8 inch (20x20 cm) square pan, which provides the ideal height to width ratio for stability. If you're looking to expand your dessert repertoire, this technique of stabilizing cream is quite similar to what I use in my Vanilla Ice Cream recipe to achieve that professional mouthfeel.
Precision is key here; ensure your freezer is set to its coldest setting before you begin. A fluctuations in temperature during the first two hours of setting can lead to large ice crystals forming in the cream layer, which ruins the velvety finish we're aiming for.
| Component | Fast Method | Classic Method | Best For |
|---|---|---|---|
| Cream Layer | store-bought topping | Stabilized yogurt cream | Flavor purity |
| Crunch Element | Pre crushed bits | Hand chopped dark cookies | Textural variety |
| Sweetener | Corn syrup | Pure maple syrup | Depth of flavor |
Gathering Your Key Ingredients
Selecting the right components makes the difference between a kid's birthday snack and a gourmet "sandwich cake recipe". Don't skimp on the cream; you need a minimum of 35% fat content to ensure it whips into a stable foam.
- 14 standard rectangular ice cream sandwiches: These form the structural "bricks" of your dessert.
- 100g crushed chocolate sandwich cookies: Provides the essential textural "shatter".
- 1.5 cups heavy whipping cream, chilled: The foundation of your velvety topping.
- 0.5 cup plain full fat Greek yogurt: Why this? Stabilizes the cream without adding excessive sweetness or chemicals.
- 3 tbsp pure maple syrup: Provides a complex sweetness and lowers the freezing point.
- 1 tsp pure vanilla extract: Enhances the chocolate notes of the wafers.
- 0.25 cup dark chocolate fudge sauce: For the decadent "turtle" ribbons.
- 0.25 cup salted caramel sauce: Adds a necessary salt hit to balance the sugars.
- 0.5 cup toasted chopped pecans: Why this? Adds an earthy, buttery crunch that breaks up the sweetness.
Structural Base Elements
The ice cream sandwiches must be kept in the freezer until the exact moment you are ready to layer them. If they soften even slightly, the "bricks" will deform under the weight of the cream, leading to a lopsided cake.
Better For-You Cream Layer
The Greek yogurt isn't just for science; it adds a subtle tang that mimics expensive mascarpone. Ensure it is full fat yogurt; low-fat versions contain too much water, which will turn into gritty ice shards once frozen.
Turtle and Topping Accents
Toasting the pecans for 5 minutes at 180°C (350°F) is a non negotiable step. It releases the oils and ensures they stay crunchy even when buried in a frigid environment.
Required Professional Kitchen Tools
You don't need a lab full of gear, but two specific items are essential for the clean lines this cake deserves. Using a stand mixer, like a KitchenAid, allows you to whip the cream to the exact "stiff peak" stage without the heat from your hands affecting the bowl.
Two Must Have Tools
- Offset Spatula: This is the only way to get a perfectly flat, professional finish on your cream layers. A regular spoon will leave divots that trap the sauce.
- Springform Pan or Lined Square Pan: If using a square pan, line it with parchment paper leaving a 2 inch overhang on all sides. This "sling" allows you to lift the entire frozen cake out for clean slicing.
Chef's Tip: Freeze your mixing bowl and whisk attachment for 10 minutes before whipping the cream. This keeps the fat globules solid, resulting in a much tighter, more stable foam.
Executing The Layering Process
Follow these steps with precision to ensure your "ice cream sandwich cake recipe" looks as good as it tastes. Remember, we are building a structure, not just a pile of ingredients.
- Line the pan. Place parchment paper in an 8x8 inch pan with overhang. Note: This prevents the cake from sticking to the cold metal.
- Whip the cream. Combine 1.5 cups heavy cream, 0.5 cup yogurt, 3 tbsp maple syrup, and 1 tsp vanilla in a chilled bowl. Whisk until stiff peaks form.
- Create the base. Unpackage 7 ice cream sandwiches and lay them in a tight single layer. Press firmly to remove air gaps.
- Add the crunch. Spread half of the whipped cream over the sandwiches, then sprinkle with 50g of crushed cookies.
- Drizzle the sauces. Use a spoon to ribbon half of the fudge and caramel over the cookie layer.
- Second sandwich tier. Place the remaining 7 sandwiches on top, alternating the direction of the bottom layer. Note: This "bricks" the cake for better structural integrity.
- Final cream coat. Smooth the rest of the whipped cream over the top until flat and velvety.
- Top and freeze. Sprinkle remaining 50g cookies and 0.5 cup pecans. Drizzle remaining sauces. Freeze for at least 6 hours.
| Ingredient | Science Role | Pro Secret |
|---|---|---|
| Heavy Cream | Fat structure | Never use "ultra pasteurized" if possible; it whips poorly |
| Greek Yogurt | Protein stabilizer | Whisk it smooth before adding to the cream to avoid lumps |
| Maple Syrup | Freezing point depressant | Use Grade A Dark for a more intense caramel like flavor |
Avoiding Common Dessert Failures
Even with a simple recipe, temperature management can be tricky. If your kitchen is hot, work in stages, putting the pan back in the freezer between every single step.
Preventing The Slump
If the cake seems to lean or "slump" when you remove it from the pan, it usually means the center didn't reach a low enough temperature. This often happens if the sandwiches were slightly soft when you started. Always ensure your sandwiches are "rock hard" before the first layer is laid down.
Over Whipping The Cream
If you whisk the cream too long, the fat will separate and you'll end up with sweetened butter. Stop the mixer the moment the cream holds its shape on the whisk. If it looks grainy, you've gone too far.
| Problem | Root Cause | Solution |
|---|---|---|
| Grainy texture | Over whipped cream | Fold in 2 tbsp of liquid cream to smooth it out |
| Soggy wafers | Cream too warm | Chill all ingredients to 4°C before starting |
| Icy mouthfeel | low-fat yogurt | Always use 5% or 10% fat Greek yogurt |
Common Mistakes Checklist:
- ✓ Forget to line the pan? You'll have to serve it directly from the tin.
- ✓ Skip the "anchor" press? The layers will slide apart when you slice.
- ✓ Used cold fudge? Microwave it for 10 seconds so it drizzles smoothly.
- ✓ Room temp bowl? The cream will take twice as long to whip and be less stable.
Creative Flavor Profile Variations
Once you have the base "ice cream sandwich cake recipe" down, you can experiment with the flavor architecture. The stabilized cream acts as a blank canvas for various infusions.
The Turtle Decadence
Our primary version uses pecans and caramel to create that classic "turtle" profile. For a deeper flavor, add 1/4 tsp of flaky sea salt to the caramel layer. This sharpens the sweetness and makes the chocolate "pop" more intensely on the palate.
The Berry Refresh
If you want something lighter, swap the fudge for a raspberry coulis and the pecans for freeze dried strawberries. The acidity of the berries cuts through the high fat content of the cream beautifully. If you're a fan of fruit forward desserts, you might find the flavor profile similar to the bright notes in my Blueberry Peach Coffee recipe.
- For a Peanut Butter Twist
- Replace the caramel with warmed peanut butter and use crushed Nutter Butters instead of chocolate cookies.
- For a Minty Finish
- Use mint chocolate ice cream sandwiches and add a drop of peppermint extract to the cream.
- For a Boozy Adult Version
- Fold 2 tbsp of Irish cream liqueur into the whipped cream before layering.
Proper Storage And Maintenance
Because this is a frozen dessert, storage is straightforward, but protection from "freezer burn" is essential. The high fat content in the cream can absorb odors from your freezer if not sealed correctly.
- Fridge: Do not store in the fridge; it will become a soup within 30 minutes.
- Freezer: Keep in an airtight container or wrap the pan tightly in three layers of plastic wrap. It will stay fresh for up to 2 weeks.
- Zero Waste Tip: If you have leftover crushed cookies or pecans, store them in a jar in the pantry for your next batch of Vanilla Ice Cream recipe topping.
When you are ready to serve, don't just dig in. Let the cake sit at room temperature for exactly 5 minutes. This allows the very outer edge of the cream to soften slightly while the core remains frigid, creating a perfect texture gradient.
Use a long, sharp chef's knife dipped in hot water (and wiped dry) between every single cut for those clean, professional looking slices.
Ideal Serving Pairings
This cake is incredibly rich, so you want pairings that offer either high acidity or a contrasting temperature. A bitter espresso or a dark roast coffee is the classic choice to cut through the sugar.
If you are hosting a larger brunch or party, serving this alongside a warm, bready dessert can be a great move. The contrast between this frozen cake and a slice of Applesauce Coffee Cake Recipe provides a wonderful "hot and cold" experience for your guests. For a lighter pairing, a bowl of fresh, macerated cherries or blackberries adds a bright, tart finish that cleanses the palate between bites of chocolate fudge.
Chef's Note: If serving outdoors, place the serving platter on top of a larger tray filled with crushed ice. This will buy you an extra 10-15 minutes of serving time before the structural integrity begins to fail. Enjoy the "snap" of that cookie layer!
Recipe FAQs
What kind of frosting is used on ice cream cakes?
Stabilized whipped cream is recommended. This recipe uses heavy cream combined with Greek yogurt and maple syrup to create a high protein, stable topping that won't weep or collapse upon thawing.
Is it cheaper to make or buy ice cream cake?
Usually cheaper to make from scratch. While the initial investment in ingredients seems higher, this method uses inexpensive, store-bought sandwiches as the base, significantly cutting costs compared to purchasing a custom layered cake.
What is a Tom Selleck cake?
This recipe is not a Tom Selleck cake. That term generally refers to a specific type of layered dessert, often involving crushed cookies and a stabilized cream, similar to this structure but usually involving pudding or mousse layers.
What kind of cookies are best for ice cream sandwiches?
Standard chocolate sandwich wafers are ideal. Their slightly dry, dense texture absorbs minimal moisture, providing the necessary contrast against the soft cream layer, similar to how structured crumbs hold up in our Cream Cheese Bean recipe.
How do I ensure my cream topping stays smooth and doesn't become icy?
Use high fat dairy and whip quickly with cold tools. The high fat content and the protein scaffold from the yogurt prevent large crystal formation; if you master this stable emulsion, the texture rivals the velvety peaks you achieve in our Whipped Cream Recipe.
Should I soak the wafers in milk for softness?
No, this leads to sogginess. Soaking introduces excess water, which freezes into hard ice shards rather than softening the wafer evenly. The goal is for the wafer to soften slightly from the cream's fat content during the thaw, not to become mushy.
Can I use store-bought whipped topping instead of whipping cream?
No, using store-bought topping severely compromises structure. These toppings often contain stabilizers that react poorly to the long freeze time, causing the cake to weep immediately upon removal from the freezer.
Ice Cream Sandwich Cake Recipe