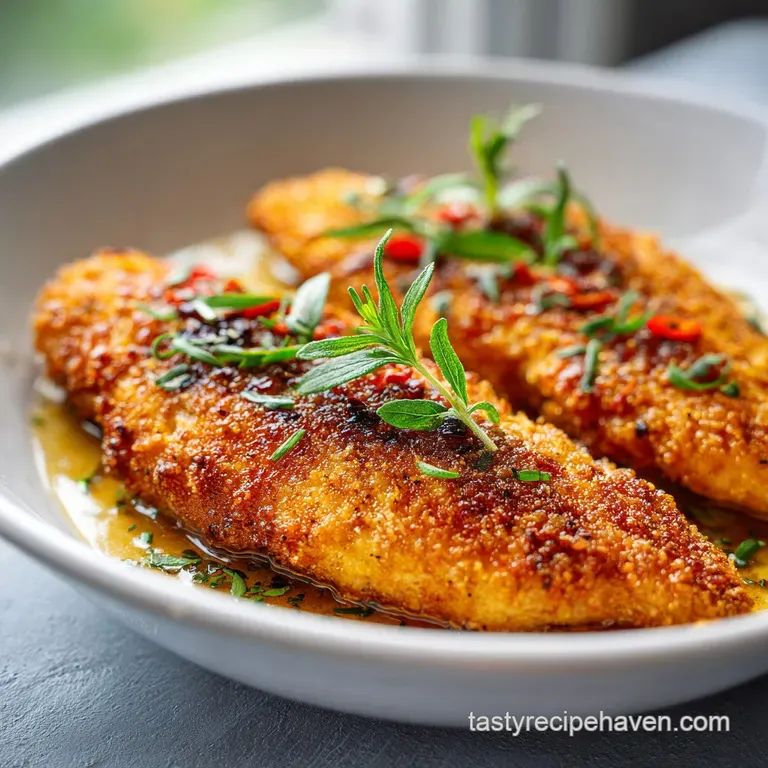
Oven Baked Chicken Breast: Juicy and Tender
- Time:10 minutes active + 22 minutes cooking + 10 minutes resting = Total 42 minutes
- Flavor/Texture Hook: A smoky, golden exterior that yields to a velvety, moisture rich center
- Perfect for: Stress free weeknight dinners or high protein meal prepping
- Vital Mechanics for Retaining Meat Moisture
- Essential Elements for Balanced Flavor
- Tools for a Smooth Kitchen Flow
- Step by Step Execution Guide
- Troubleshooting Common Texture Issues
- Stovetop vs Oven Comparison
- Creative Variations for Your Routine
- Managing Leftovers and Storage Safely
- Debunking Searing and Temperature Myths
- Perfect Pairings for Your Dinner
- Recipe FAQs
- 📝 Recipe Card
Picture this: you pull a tray out of the oven, and the aroma of smoked paprika and toasted garlic hits you instantly. The chicken isn't swimming in a pool of gray liquid, and it doesn't look like a piece of parched parchment paper.
Instead, it’s plump, glowing with a mahogany hue from the brown sugar, and when you press it with a fork, it feels springy rather than stiff. I used to be the person who avoided this cut because I thought it was destined to be bland and dry.
I’d poke at it, hope for the best, and inevitably drown it in ranch dressing just to make it edible.
But then I realized we’ve been looking at this lean protein all wrong. We treat it like a steak that needs a slow sear, but in reality, a boneless skinless breast needs a fast, aggressive heat and a bit of "physical therapy" before it even touches the pan.
This recipe is the result of me getting tired of mediocre salads and wanting a protein that actually holds its own on the plate. We're going to use a specific temperature and a specific prep method that guarantees you’ll never serve a boring dinner again.
Trust me, once you see those juices stay inside the meat instead of evaporating into the oven air, you’ll never go back to your old way. We are talking about a total transformation of a pantry based staple that usually feels like a chore to cook.
Right then, let’s get into the mechanics of why this actually works so you can stop guessing and start cooking with total confidence.
Vital Mechanics for Retaining Meat Moisture
Mechanical Tenderizing: Pounding the meat breaks down tough muscle fibers and ensures the entire piece cooks at the exact same rate. This prevents the thin "tail" of the breast from turning into jerky while the thick center is still raw.
High Heat Impact: Roasting at 425°F (220°C) creates a sudden "sear" in the oven, sealing the exterior quickly to prevent the internal moisture from escaping. This mimics the results of a stovetop sear without the mess of oil splatters.
The Sugar Shield: A tiny amount of brown sugar in the rub caramelizes rapidly, creating a micro crust that acts as a physical barrier. This helps hold the natural juices inside while providing a deeper color that looks much more appetizing.
The Resting Phase: Taking the meat out at 160°F and letting it sit allows the proteins to relax. During these 10 minutes, the fibers reabsorb the juices, and the internal temperature naturally climbs to the safe 165°F mark through carry over cooking.
Quick Decision Done ness Guide
| Meat Thickness | Internal Temp (Target) | Rest Time | Visual Finished Cue |
|---|---|---|---|
| 1/2 inch | 160°F (71°C) | 5 minutes | Opaque throughout |
| 3/4 inch | 160°F (71°C) | 10 minutes | Juices run clear |
| 1 inch | 160°F (71°C) | 12 minutes | Firm, springy touch |
Choosing the right thickness is the biggest lever you can pull for success. If your chicken breasts are massive (some are nearly a pound these days!), you absolutely must pound them down or they will dry out on the edges before the middle is safe to eat.
Essential Elements for Balanced Flavor
| Component | Science Role | Pro Secret |
|---|---|---|
| Smoked Paprika | Color and Depth | Adds a "grilled" flavor without a grill. |
| Brown Sugar | Surface Caramelization | Prevents the meat from looking "boiled" or pale. |
| Kosher Salt | Protein Denaturation | Helps the meat hold onto water during the roast. |
| Olive Oil | Heat Conduction | Acts as a bridge between the hot air and the meat. |
You'll need 4 (7 8oz each) boneless skinless chicken breasts for this recipe. If you buy the "value packs," just weigh them out; sometimes those packs have two giant ones and three tiny ones, which is a recipe for uneven cooking. You'll also need 1 tbsp extra virgin olive oil to coat them.
For the rub, gather 1 tsp kosher salt, 1/2 tsp black pepper, 1 tsp smoked paprika, 1 tsp garlic powder, 1 tsp onion powder, 1/2 tsp dried oregano, and 1/2 tsp brown sugar.
If you don't have smoked paprika, regular paprika works, but you'll lose that "just off-the charcoal" vibe. The brown sugar is a tiny amount, but it’s the difference between a golden breast and a white one.
If you're strictly keto, you can swap it for a monk fruit sweetener or just leave it out, though the crust won't be quite as velvety.
| Original Ingredient | Substitute | Why It Works |
|---|---|---|
| Olive Oil | Avocado Oil | High smoke point and neutral flavor profile. |
| Smoked Paprika | Chipotle Powder | Adds heat and smokiness. Note: Much spicier than paprika. |
| Dried Oregano | Dried Thyme | Similar earthy notes that complement poultry. |
| Brown Sugar | Coconut Sugar | Similar caramelization properties and deep flavor. |
Using a high-quality salt like kosher salt is better than table salt because the larger grains are easier to sprinkle evenly. If you only have table salt, use about half the amount to avoid an salt bomb situation.
Tools for a Smooth Kitchen Flow
You don't need a professional grade kitchen for this, but two specific tools will make your life a million times easier. First, a meat mallet or a heavy rolling pin. We aren't trying to pulverize the meat into a pancake; we just want to level the playing field. Uniform thickness is the secret to uniform cooking.
Second, an instant read digital thermometer is non negotiable. Cooking by "time" is a gamble because every oven has its own personality, and chicken breast sizes vary wildly. If you want that velvety texture every single time, you have to pull the meat based on temperature, not the clock.
Chef's Tip: If you don't have a meat mallet, use the bottom of a heavy cast iron skillet. Just be gentle so you don't tear the delicate protein fibers.
You’ll also want a large rimmed baking sheet lined with parchment paper. This makes cleanup a breeze and prevents the chicken from sticking to the metal. A silicone mat also works perfectly here if you’re trying to reduce waste in your kitchen.
Step by step Execution Guide
Right then, let's get cooking. Follow this flow and you'll have dinner on the table in about 42 minutes total.
- Preheat your oven to 425°F (220°C). Line a large rimmed baking sheet with parchment paper or a silicone mat. Note: A hot oven is crucial for that immediate heat blast.
- Level the meat. Place the chicken breasts between two sheets of plastic wrap. Using the flat side of a meat mallet or rolling pin, gently pound the thickest parts until the meat is a uniform thickness of about 3/4 inch.
- Prep the surface. Pat the chicken completely dry with paper towels. Note: Moisture on the surface leads to steaming, not roasting.
- Apply the oil. Drizzle with 1 tbsp olive oil and rub to coat all sides of the chicken thoroughly.
- Mix the rub. In a small bowl, whisk together the salt, pepper, paprika, garlic powder, onion powder, oregano, and brown sugar.
- Season heavily. Sprinkle the seasoning rub over the chicken and press it in firmly with your hands to create the 'moisture lock' seal.
- Bake the chicken. Place on the sheet pan and bake for 18–22 minutes.
- Check the temp. Use an instant read thermometer to check until the internal temperature reaches 160°F (71°C) in the thickest part.
- Rest the meat. Remove from the oven and transfer to a plate. Tent loosely with foil and let rest for 10 minutes.
- Serve. Slice against the grain for the most tender bite.
The 3 Step Success Timeline
- 0-10 Mins: Preheat and Pound. Getting the oven hot and the meat level is the "heavy lifting" phase.
- 10-32 Mins: The Roast. This is your hands off time. Don't open the oven door! You'll lose that precious high heat.
- 32-42 Mins: The Carry Over. This is where the magic happens. The chicken finishes cooking on the counter while you set the table.
Troubleshooting Common Texture Issues
The most common complaint I hear is that the chicken tastes "okay" but the texture is a bit like eating a sponge. This usually happens when the chicken is under seasoned or, more likely, overcooked.
If you’ve ever had chicken that feels "squeaky" against your teeth, it’s a sign that the proteins have tightened up so much they’ve squeezed out all their internal water.
Fixing Pale or Soggy Chicken
If your chicken comes out looking white and sad instead of golden brown, it usually means there was too much moisture on the surface. If you don't pat the meat dry with paper towels, the olive oil can't properly "fry" the surface in the oven. The spices will just turn into a paste rather than a crust.
| Problem | Root Cause | Solution |
|---|---|---|
| Dry/Chalky Meat | Internal temp exceeded 170°F | Pull at 160°F and let rest for 10 minutes. |
| Rubbed spices fall off | Surface too wet or no oil | Pat dry and use oil to "glue" the spices down. |
| Uneven cooking | Uneven thickness | Use a mallet to pound to 3/4 inch thickness. |
Common Mistakes Checklist
- ✓ Skipping the pounding step (leads to dry edges).
- ✓ Using a cold baking sheet (preheat it for an extra crispy bottom!).
- ✓ Not using a thermometer (guessing is the enemy of juice).
- ✓ Cutting the chicken immediately after it leaves the oven (all the juice will run out).
- ✓ Crowding the pan (leave at least 2 inches between breasts so air can circulate).
Stovetop vs Oven Comparison
| Method | Total Time | Texture | Best For |
|---|---|---|---|
| Stovetop | 15 minutes | Crispy, dark crust | Fast meals for 1-2 people |
| Oven (This Recipe) | 42 minutes | Uniformly tender, juicy | Meal prep and family dinners |
| Air Fryer | 18 minutes | Very crispy edges | Small batches, extra crunch |
As you can see, the oven takes longer overall because of the preheat and rest, but it is the most reliable way to cook for a crowd without standing over a splattering pan.
Creative Variations for Your Routine
Once you've mastered this base method, you can go in a hundred different directions. If you’re in the mood for something with a bit more crunch and a cheesy finish, you might love this crispy chicken parmesan. It uses a similar logic but adds that classic Italian comfort factor.
For those nights when you prefer dark meat, I have a great baked chicken thighs guide that follows a similar flavor profile but handles the higher fat content of the thigh perfectly.
The Low Carb Option
This recipe is already incredibly keto friendly as long as you watch the brown sugar. If you want to lean into the healthy aspect, serve this over a bed of sautéed spinach or cauliflower rice. The juices from the resting plate make a fantastic "instant sauce" when poured over greens.
Mediterranean Vibe
Swap the smoked paprika and oregano for a tablespoon of Za'atar or a mix of dried basil and lemon zest. Rub the chicken with a little bit of lemon juice along with the olive oil before adding the spices. It’s bright, fresh, and perfect for a summer salad.
The Decision Shortcut
- If you want a spicy kick, add 1/4 tsp of cayenne pepper to the rub.
- If you want a "BBQ" style, brush with a tablespoon of your favorite sauce during the last 5 minutes of baking.
- If you want it extra crispy, toss 2 tablespoons of grated Parmesan into the spice mix.
Managing Leftovers and Storage Safely
This is my absolute favorite recipe for meal prep because the chicken stays moist even after reheating. I usually cook a double batch on Sundays and use it throughout the week.
Fridge Storage: Store in an airtight container for up to 4 days. To keep it from drying out, keep the breasts whole and slice them only right before you eat.
Freezer Guidelines: You can freeze the cooked breasts for up to 3 months. Wrap them individually in plastic wrap and then place them in a freezer bag. Thaw in the fridge overnight before reheating.
Zero Waste Tip: Don't throw away the bones if you’re using bone in (though this recipe calls for boneless). If you have leftover scraps or "tails" that are too small for a meal, chop them up and toss them into a quick chicken salad with some Greek yogurt, celery, and grapes.
It’s a great way to ensure nothing goes to waste.
Debunking Searing and Temperature Myths
One of the biggest myths in cooking is that searing meat "seals in the juices." Science has shown that moisture loss happens regardless of a crust. The reason we want that golden exterior is for the flavor development, not for a physical seal.
That's why the pounding and the resting are actually more important for juiciness than the sear itself.
Another common misconception is that you must cook chicken until it hits 165°F inside the oven. If you do that, carry over cooking will push it to 170°F or higher while it rests, leaving you with dry meat.
Pulling it at 160°F is perfectly safe as long as you let it rest, because the "kill step" for bacteria is a combination of temperature and time. Holding the meat at 160°F for a few minutes is just as effective as hitting 165°F for one second.
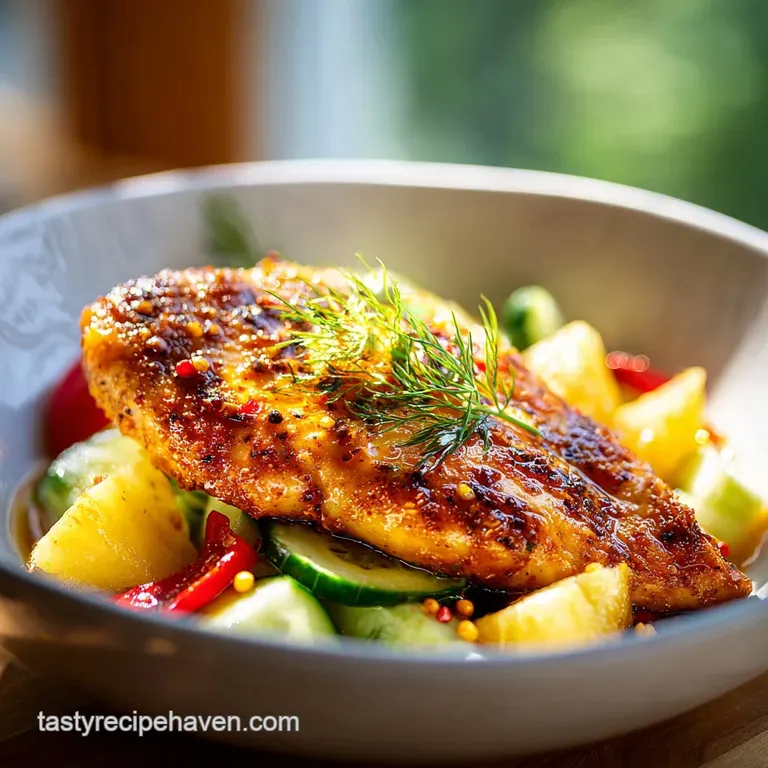
Perfect Pairings for Your Dinner
Since this Oven Baked Chicken Breast is so versatile, it goes with almost anything in your pantry. I love serving it alongside roasted sweet potatoes or a simple quinoa salad. If you're looking for a "set it and forget it" side, roasting some broccoli on a separate sheet pan at the same time is a total pro move.
The smokiness of the paprika also pairs beautifully with creamy elements. A quick avocado mash or a dollop of garlicky Greek yogurt on the side adds a velvety contrast to the seasoned crust.
However you serve it, just remember: the thermometer is your best friend, the mallet is your therapist, and the 10 minute rest is your path to the perfect dinner. Enjoy!
Recipe FAQs
Is it better to bake chicken at 350 or 400 in the oven?
Neither, 425°F is the ideal temperature. A higher heat blast is essential for cooking the chicken quickly so it stays juicy rather than drying out in a slower oven.
How long do you put chicken breast in the oven at 425 degrees?
Bake for 18 22 minutes. Always use an instant read thermometer to verify the internal temperature reaches 160°F before removing it from the oven.
Can a diabetic eat baked chicken?
Yes, this recipe is naturally protein forward and compatible with a diabetic friendly diet. It relies on dry spices and herbs for flavor rather than sugary glazes or high carb coatings.
How do you cook chicken breast in the oven so it doesn't dry?
Pound the meat to a uniform 3/4 inch thickness before baking. If you enjoyed mastering the even cooking technique here, you can apply that same logic to ensure consistent results in other casserole dishes.
Is it necessary to use a meat mallet for the chicken?
Yes, pounding the chicken to a uniform thickness is critical for even cooking. It prevents the thin ends from drying out before the thick center is finished.
Why is resting the chicken after baking important?
Resting for 10 minutes allows the internal juices to redistribute throughout the meat. If you cut into the chicken immediately, those juices will escape onto your cutting board instead of staying inside the breast.
Should I skip the brown sugar in the seasoning rub?
No, the small amount of brown sugar helps create a moisture lock seal when pressed into the meat. It contributes to a savory, caramelized crust without making the final dish taste sweet.
Juicy Oven Baked Chicken Breast

