Pin on Cupcake Project Inspo: Velvety Crumb
- Time: Active 20 minutes, Passive 18 minutes, Total 38 minutes
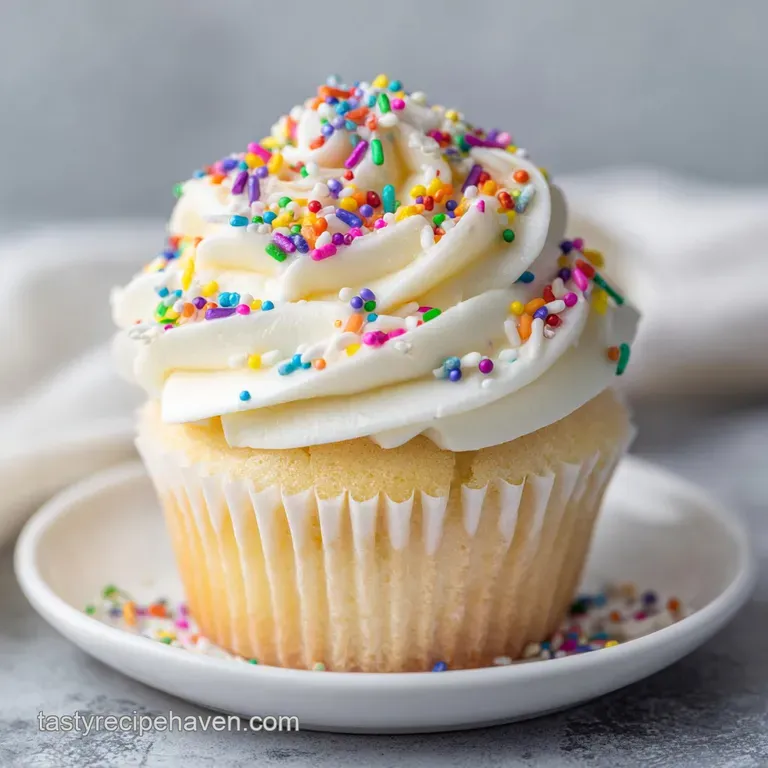
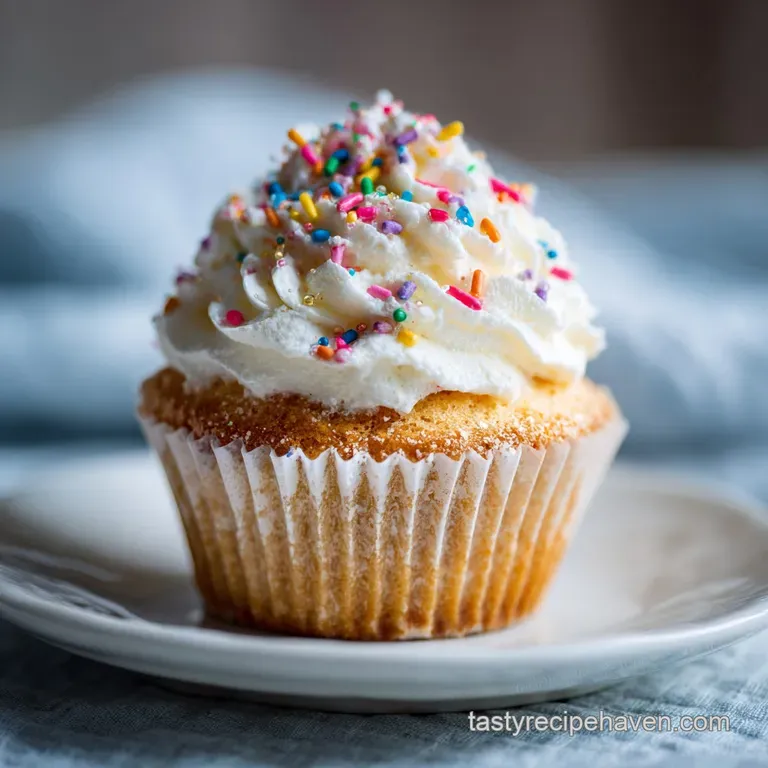
- Flavor/Texture Hook: Silky, buttery crumb with a concentrated vanilla bean finish
- Perfect for: Weekend baking projects, birthday celebrations, or Pinterest worthy decorating sessions
- Finding Creative Pin on Cupcake project inspo
- The Secret to the Velvety Crumb
- Quick Stats for This Project
- Essential Ingredients for the Best Batter
- Minimal Tools for a Stress Free Bake
- Step-By-Step Method for Velvety Crumbs
- Solving Common Texture and Rise Issues
- Creative Ways to Personalize Your Treats
- Storing and Reheating Your Fresh Bakes
- Presentation Tips for Your Finished Project
- Recipe FAQs
- 📝 Recipe Card
Finding Creative Pin on Cupcake project inspo
The scent of warm vanilla and toasted sugar hitting the air as you pull a tray from the oven is arguably the best part of being a home cook. I remember the first time I tried to follow a viral decorating trend I found online; I spent hours on the frosting, only for the cake underneath to be dry and crumbly.
It was a total heartbreak, but it taught me that the prettiest designs need a solid, moist foundation to actually work.
This recipe is exactly that foundation. We are skipping the fancy techniques and focusing on a texture that feels like silk on the tongue but stays sturdy enough for a mountain of buttercream.
Whether you are prepping for a bake sale or just trying to recreate a look you saved on your phone, these are the bases that won't let you down. You won't need a professional kitchen or a dozen different gadgets, just a few pantry staples and a little bit of patience while your butter softens.
If you have ever felt intimidated by those "project" bakes, let’s clear that up right now. We are making something that tastes high end but uses a process that is incredibly forgiving. By the time the timer dings, you will have a dozen golden, flat topped beauties ready for whatever creative spark hits you next.
The Secret to the Velvety Crumb
Starch Coating: Mixing butter directly into the flour first coats the gluten proteins in fat, which limits gluten development and ensures a tender, melt in-your mouth texture.
Temperature Precision: Using ingredients at exactly 65°F to 70°F allows for a stable emulsion, preventing the batter from breaking and resulting in a uniform rise without large air pockets.
| Method | Prep Time | Resulting Texture | Best Usage |
|---|---|---|---|
| Fast (All in-One) | 5 minutes | Coarse and open crumb | Casual snacking or muffins |
| Classic (Reverse Creaming) | 20 minutes | Tight, velvety, and fine | Decorative projects and layered flavors |
This method is specifically designed for those who want their bakes to look professional without the stress. While the fast method is great for a quick snack, the reverse creaming technique used here provides the stability needed for heavy toppings or intricate piping.
Quick Stats for This Project
Before we get the whisks moving, let's look at why these specific ingredients make the magic happen. Every item in this list has a job to do, from the way the sugar interacts with the fat to the specific protein content of the flour.
Understanding these roles helps you troubleshoot on the fly if something looks different in your bowl than it does in the photos.
| Ingredient | Science Role | Pro Secret |
|---|---|---|
| Cake Flour | Low protein (approx 7-8%) | Sifting it twice adds air for a lighter feel |
| Unsalted Butter | Fat barrier for gluten | Softened butter should hold an indent but not be greasy |
| Vanilla Bean Paste | Flavor and aromatics | Paste provides those beautiful dark specks and deeper oils |
Using vanilla bean paste instead of standard extract makes a world of difference here. It adds a concentrated floral note that stands up to the sugar, making the cake taste like it came from a high end boutique. If you are looking for a bolder visual, you might consider how this base compares to a Red Velvet Cupcakes Recipe when you're planning your next party spread.
Essential Ingredients for the Best Batter
Gather these items before you start. Having everything at room temperature is the single biggest factor in your success today. If your milk is cold, it will seize the butter, and you will lose that silky consistency we are aiming for.
- 1.75 cups (210g) cake flour, sifted: Why this? Lower protein ensures the crumb stays tender rather than bready.
- 1 cup (200g) extra fine granulated sugar: Why this? Smaller crystals dissolve faster into the fat for a smoother batter.
- 1.5 tsp baking powder: This provides the lift needed for a flat, even top.
- 0.5 tsp kosher salt: Balances the sweetness and enhances the vanilla.
- 0.75 cup (170g) unsalted butter, softened to 65°F: The fat source that creates the "sandy" texture during mixing.
- 2 large eggs, room temperature: These bind the structure and provide moisture.
- 0.5 cup (120ml) whole milk, room temperature: Adds richness and helps hydrate the flour.
- 2 tsp pure vanilla bean paste: Why this? Offers a more intense flavor than liquid extract.
Substitution Table
| Original Ingredient | Substitute | Why It Works |
|---|---|---|
| Cake Flour | All Purpose Flour minus 2 tbsp + 2 tbsp Cornstarch | Cornstarch lowers the protein content to mimic cake flour. |
| Vanilla Bean Paste | Double the amount of Vanilla Extract | Same flavor profile, though you lose the visual bean specks. |
| Whole Milk | Full fat Sour Cream | Adds a slight tang and extra moisture. Note: Batter will be thicker. |
If you are feeling extra festive, these vanilla bases pair beautifully with small treats like a Valentine Chocolate Heart recipe placed right on top of the frosting. It's a quick way to turn a simple bake into something that looks like it took hours of effort.
Minimal Tools for a Stress Free Bake
You don't need a high end stand mixer to get these right. While a stand mixer is convenient, a simple hand mixer or even a sturdy whisk and some arm strength will get the job done. The goal is to reach specific textures at each stage, not to use the most expensive gear.
- Standard 12 cup muffin tin: This recipe is perfectly scaled for one dozen.
- Paper liners: These prevent sticking and help the cakes hold their shape.
- Fine mesh sieve: Crucial for sifting the cake flour to remove any lumps.
- Rubber spatula: For scraping the bottom of the bowl to ensure no dry flour pockets remain.
- Digital scale: While cup measurements are provided, weighing your flour is the only way to be 100% sure of the texture.
Chef Tip: If you forgot to take your eggs out of the fridge, place them in a bowl of warm (not hot) water for 5 minutes. It’s a quick trick that brings them to room temperature without cooking them.
Step-by-step Method for Velvety Crumbs
Let’s get into the actual baking. Follow these steps closely, especially the part about the mixing speed. Over mixing is the enemy of a tender cake, so we want to be deliberate with our movements.
- Preheat and Prep: Set your oven to 350°F (180°C) and line your tin.
- Sift the Dry Base: Sift the cake flour, sugar, baking powder, and salt into a large bowl. Note: This aerates the ingredients and ensures even distribution of the leavening agent.
- Incorporate the Butter: Add the softened butter to the dry ingredients. Mix on low until the mixture looks like damp sand.
- Whisk the Liquids: In a separate small jug, whisk together the eggs, milk, and vanilla bean paste until combined.
- First Liquid Addition: Pour about half of the liquid mixture into the sandy flour mixture.
- Develop Structure: Beat on medium low for about 60 seconds until the batter looks pale and fluffy.
- Final Integration: Add the remaining liquid in two steady streams, mixing just until the streaks of flour disappear.
- Fill the Liners: Divide the batter evenly, filling each liner about two thirds full. Note: Overfilling will cause the batter to spill over the edges.
- The Controlled Bake: Bake for 18 minutes until the tops spring back when gently pressed and a toothpick comes out clean.
- Cooling Phase: Let them sit in the tin for 5 minutes before moving them to a wire rack to cool completely.
Solving Common Texture and Rise Issues
Even with a reliable recipe, things can go sideways if the oven temperature is off or if the ingredients weren't quite at the right stage. If your bakes didn't come out looking like the "project inspo" you were hoping for, don't worry. Most issues have a very simple fix for the next batch.
Preventing Liners From Peeling Away
This usually happens because of moisture buildup. If you leave the cupcakes in the metal tin for too long after taking them out of the oven, steam gets trapped between the liner and the cake. This weakens the adhesive bond of the paper. Always move them to a cooling rack within five minutes to let the air circulate.
Fixing a Greasy or Dense Bottom
If you notice a dark, greasy ring at the bottom of your cupcakes, your butter was likely too soft or even slightly melted. When butter is too warm, it can't hold the air bubbles created during mixing, so it collapses and sinks to the bottom.
Stick to the 65°F rule the butter should be cool to the touch but pliable.
| Problem | Root Cause | Solution |
|---|---|---|
| Sunken centers | Underbaking or opening the door too soon | Check doneness with a toothpick; don't peek before 15 mins. |
| Peeling liners | Steam trapped in the pan | Remove from tin immediately after the 5 minute rest. |
| Dry, tough crumb | Over mixing the batter | Stop mixing as soon as the last liquid streaks disappear. |
Common Mistakes Checklist
- ✓ Always sift your cake flour to avoid dense, floury lumps in the finished bake.
- ✓ Measure your flour by weight if possible; a "cup" can vary by 20% depending on how it's packed.
- ✓ Ensure your oven is fully preheated for at least 20 minutes before the tray goes in.
- ✓ Don't overfill the liners; two thirds full is the limit for a flat, decoratable top.
- ✓ Use room temperature eggs to maintain a stable, silky emulsion in the batter.
Creative Ways to Personalize Your Treats
Once you have the base down, the "project" part begins. This recipe is like a blank canvas. Because the crumb is so tight and velvety, it can handle a lot of different flavor additions without falling apart.
- The Citrus Twist: Add the zest of two lemons or oranges to the sugar before mixing. This releases the oils and scents the entire cake.
- The Berry Core: After the cakes have cooled, use a small knife to remove the center and fill it with a spoonful of raspberry jam or lemon curd.
- The Spice Route: Add a teaspoon of cinnamon and a pinch of nutmeg to the dry ingredients for a warm, cozy version that pairs well with cream cheese frosting.
If you are looking for more fun shapes or ideas for a party, you might enjoy making a Football Brownies for recipe to sit alongside these cupcakes. It adds a different texture and a bit of variety to your dessert table.
Choosing Your Style
- If you want Classic Elegance, use a large round tip for the frosting and top with a single gold leaf.
- If you want Whimsical Fun, use a grass tip for green frosting and add small fondant flowers.
- If you want Rustic Charm, use a small offset spatula to swirl the frosting and top with fresh berries.
Storing and Reheating Your Fresh Bakes
Proper storage is what keeps these from turning into dry pucks overnight. Because this recipe uses butter, the cakes will naturally firm up when they get cold. You want to protect that moisture at all costs.
Storage: Keep the un frosted cupcakes in an airtight container at room temperature for up to 3 days. If they are already frosted with buttercream, they can stay out for about 2 days, provided your kitchen isn't too hot. If you must refrigerate them, be aware that the cold will dry out the crumb faster.
Freezing: These freeze beautifully! Wrap individual un frosted cupcakes in plastic wrap and place them in a freezer safe bag for up to 2 months. To thaw, just leave them on the counter for about an hour. They will taste just as fresh as the day you baked them.
Zero Waste Tip: If you end up with a few leftovers that have gone slightly stale, don't toss them. Crumble them up and mix with a little bit of frosting to make cake pops. Or, toast the crumbles in a pan with a little butter to make "cake croutons" for an ice cream topping.
It's a sweet way to make sure nothing goes to waste.
Presentation Tips for Your Finished Project
The final look is all about the details. When you are looking at your "Pin on Cupcake project inspo" board, notice how the most professional looking bakes often have a consistent theme. Whether it’s a specific color palette or a repeated garnish, consistency is key.
Start by choosing a high-quality liner that complements your frosting color. Grease proof liners are a great investment because they don't turn transparent or look messy after baking. If you are using a lighter frosting, a dark liner can provide a beautiful contrast.
For the frosting itself, make sure it is at room temperature when you pipe it. If it’s too cold, it will be stiff and show jagged edges; if it’s too warm, it will slide right off the cake. A silky buttercream should hold its shape but feel soft. If you want to try something different for your next gathering, consider a No Bake Christmas recipe for a mix of textures and flavors that will definitely impress your guests.
Debunking Baking Myths
- Myth: You must beat the eggs until they are frothy before adding them. Truth: In this reverse creaming method, we just need them combined with the milk. Over beating at this stage can actually lead to unwanted air bubbles that cause the tops to crack.
- Myth: Opening the oven door will always make the cake sink. Truth: While you shouldn't do it constantly, a quick check toward the end of the baking time won't hurt. The structure is mostly set by the 15 minute mark.
- Myth: All purpose flour is "basically the same" as cake flour. Truth: The protein difference is small but significant. All purpose will result in a tougher, bread like texture that lacks the velvety melt of the original recipe.
Recipe FAQs
Can I substitute oil for the butter in this recipe?
No, stick to softened butter for the best results. The reverse creaming method relies on coating the flour in solid fat (butter) first to inhibit gluten development, which creates the signature velvety crumb.
How to ensure the cupcake tops are perfectly flat for heavy decorations?
Use room temperature eggs and milk and bake at 350°F. Ingredients that are too cold will cause the batter to break, leading to uneven rising and dome tops. For a professional finish, try piping the Strawberry Cream Cheese recipe high for visual appeal.
Is it true that cake flour is mandatory for this project inspiration look?
Yes, cake flour is highly recommended for the intended texture. Its lower protein content prevents toughness, ensuring the fine crumb you see in high end inspiration photos. Substituting with AP flour will yield a noticeable difference in tenderness.
How to prepare the batter if I don't have a digital scale?
Sift the flour first, then gently spoon it into your measuring cup. Do not pack the flour down; level the top off with a knife. Accurate weighing is always superior, but careful scooping minimizes density errors.
What is the best way to cool cupcakes to prevent the liners from peeling?
Remove them from the hot tin after exactly five minutes of cooling. If you leave them in the metal pan too long, trapped steam condenses between the cake and the liner, weakening the paper bond.
How to incorporate strong flavors like citrus zest without altering the structure?
Add the zest to the granulated sugar and rub it together before mixing. This mechanical action releases the essential oils from the zest, flavoring the fat molecules before the wet ingredients are introduced. If you loved the flavor balance here, see how this same principle works in the Cherry Turnover Recipe for contrasting sweetness.
Can I make these ahead of time for a busy event?
Yes, the plain bases can be baked up to two days early. Store them in a sealed, airtight container at room temperature never the refrigerator to maintain moisture retention.
Cupcake Project Inspiration Base

