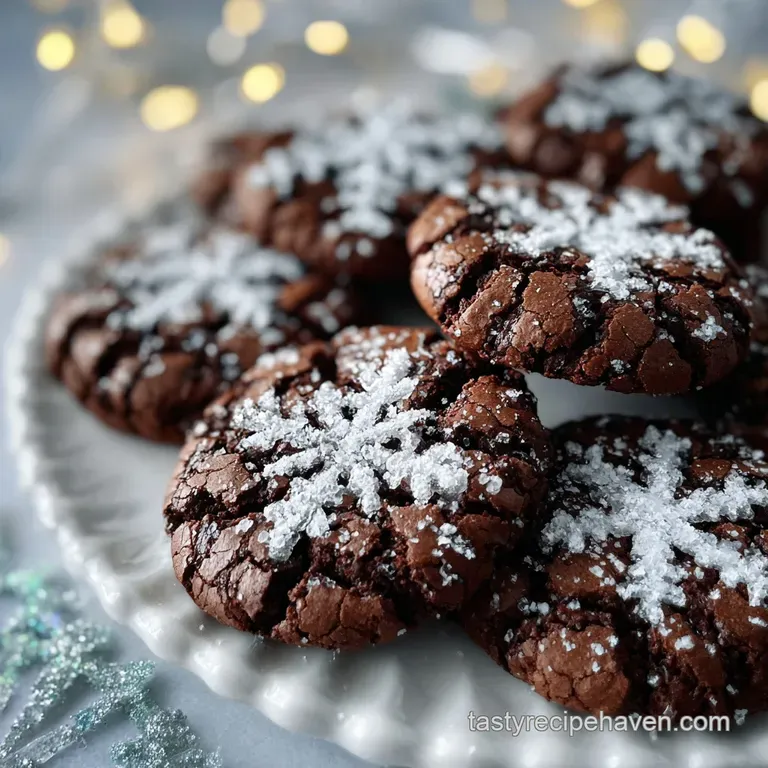
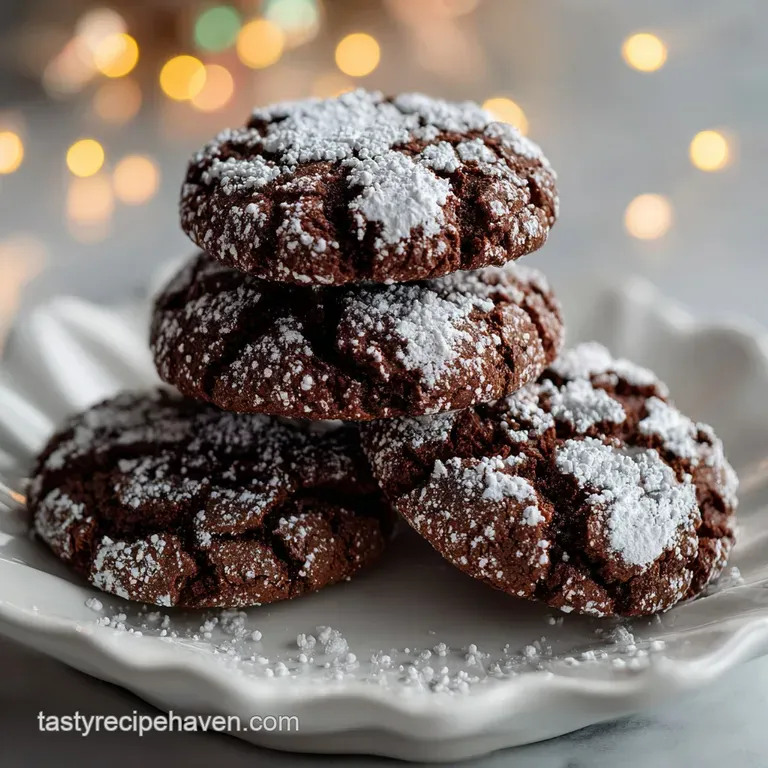
Chocolate Christmas Cookies with Crinkle Crust
- Time: Active 20 mins, Passive 4 hours 12 mins, Total 4 hours 32 mins
- Flavor/Texture Hook: Fudgy, cocoa rich interior with a crisp, shatter like exterior
- Perfect for: Holiday cookie exchanges, festive gifting, or a cozy snowy night in
- Mastering Fudgy Chocolate Christmas Cookies
- The Science of the Snowy Crinkle
- Quick Guide to Baking Success
- Selecting the Best Pantry Essentials
- Minimal Tools for Maximum Results
- Simple Steps for Fudgy Results
- Solving Common Holiday Baking Hurdles
- Creative Ways to Swap Ingredients
- Storing Your Cookies for Freshness
- Festive Pairings for Every Occasion
- Myths About Chocolate Cookies
- Recipe FAQs
- 📝 Recipe Card
Mastering Fudgy Chocolate Christmas Cookies
I still remember the first time I tried to bake these. My kitchen looked like a flour bomb had gone off, and the first batch came out looking like sad, flat mud puddles. I was so frustrated because I wanted that iconic, high contrast "snow on a mountain" look.
But after a few tweaks, I realized the secret wasn't some fancy equipment. It was all about patience and a little bit of kitchen science that anyone can do.
The smell of these baking is something you just have to experience. It’s that deep, rich aroma of Dutch processed cocoa filling the house, mixed with the sweet scent of vanilla.
When you finally pull them out and see those beautiful white fissures across the dark chocolate, it’s honestly one of the most satisfying moments in baking. You’ll want to eat them straight off the tray, but trust me, letting them cool for just a few minutes makes that velvety center even better.
This recipe is designed for the home cook who wants results that look like they came from a boutique bakery without the boutique price tag. We are using simple pantry staples and minimal tools to create something truly special.
Whether you are a seasoned pro or this is your first time picking up a spatula, you'll find these Chocolate Christmas Cookies are remarkably forgiving if you follow a few key steps. Let’s get stuck into the "how" so you can get to the "yum" faster.
The Science of the Snowy Crinkle
The Double Coat Buffer: Rolling the dough in granulated sugar first creates a dry barrier that prevents the powdered sugar from absorbing moisture and dissolving. This ensures the white coating stays bright and opaque during the bake.
Starch Gelatinization: As the dough heats up, the baking powder creates gas while the edges set quickly. The expanding center forces the set surface to "shatter" into the classic crinkle pattern.
Fat to Flour Equilibrium: Using 0.25 cup of melted butter ensures the cookies are tender but have enough structural integrity to hold their shape without spreading into a flat pancake.
Quick Guide to Baking Success
| Bake Time | Visual Cue | Internal Texture |
|---|---|---|
| 10 minutes | Edges just set, center looks soft | Ultra fudgy, almost like a truffle |
| 12 minutes | Cracks are wide, edges are firm | Perfect balance of chewy and soft |
| 14 minutes | Edges are very dark, cracks are set | Crispy and firm, better for dipping in milk |
I usually aim for the 12 minutes mark. It gives you that classic "shatter" on the outside while keeping the middle totally velvety. If you like a more traditional Snickerdoodle Cookies Recipe style texture, you might lean toward the longer bake time, but for these, the fudge factor is king.
Selecting the Best Pantry Essentials
The beauty of this recipe is that it relies on basics, but the quality of those basics makes a massive difference. For instance, Dutch processed cocoa powder is non negotiable here.
It’s treated with alkali, which makes it less acidic and gives the cookies that deep, dark color that looks so stunning against the white sugar. Regular cocoa works, but your cookies will be lighter in color and slightly more "bright" or fruity in flavor.
We also use both granulated and light brown sugar in the dough. The brown sugar brings moisture and a hint of caramel, while the white sugar helps with the structure and crisping. It’s a small detail, but it’s what separates a good cookie from a great one. Don't skip the room temperature eggs, either.
Cold eggs can cause the melted butter to seize up, leading to a lumpy dough that won't spread correctly.
Component Analysis
| Ingredient | Science Role | Pro Secret |
|---|---|---|
| Dutch Cocoa | Provides deep color and rich flavor | Sift it to avoid stubborn lumps in the dough |
| Baking Powder | Creates the "lift" that causes crinkling | Check the expiry; old powder means flat cookies |
| Light Brown Sugar | Adds moisture and a soft, chewy bite | Pack it firmly into the cup for accuracy |
| Large Eggs | Bind the fats and liquids together | Use room temperature for a silky, even emulsion |
Minimal Tools for Maximum Results
You don't need a fancy stand mixer to make these happen. In fact, I often find a simple wooden spoon or a sturdy silicone spatula works better for getting the right consistency. A couple of large mixing bowls and a whisk for the dry ingredients are all you really need. It's the ultimate low tech, high reward project.
Chef Tip: If you don't have a cookie scoop, use a rounded tablespoon. Consistency in size is what ensures every cookie on the tray finishes baking at the same time.
For the coating, I like to use two small cereal bowls. It keeps the process organized and prevents you from getting powdered sugar all over your flour. Also, grab some parchment paper or a silicone baking mat. These cookies are fudgy, and they love to stick to bare metal pans.
A little bit of non stick insurance goes a long way.
- 1 cup (125g) all purpose flour Why this? Provides the structural backbone without being too heavy.
- 0.5 cup (45g) unsweetened Dutch processed cocoa powder Why this? For that intense, dark chocolate flavor and color.
- 1 tsp baking powder Why this? The leavening agent responsible for those beautiful cracks.
- 0.25 tsp salt Why this? Essential for balancing the sweetness of the sugar.
- 0.75 cup (150g) granulated white sugar Why this? Sweetens and helps the edges crisp up.
- 0.25 cup (50g) light brown sugar, packed Why this? Adds a hint of molasses and keeps the center moist.
- 0.25 cup (60g) unsalted butter, melted and cooled Why this? Provides richness and a tender crumb.
- 2 large eggs, room temperature Why this? Acts as the binder for all the dry ingredients.
- 1 tsp pure vanilla extract Why this? Rounds out the chocolate flavor with floral notes.
- 0.5 cup (100g) granulated sugar for coating Why this? The "primer" that keeps the powdered sugar white.
- 1 cup (120g) powdered sugar for coating Why this? Creates the iconic snowy finish.
Simple Steps for Fudgy Results
- Whisk the all purpose flour, Dutch cocoa powder, baking powder, and salt in a medium bowl until the color is uniform and no lumps remain. Note: Sifting the cocoa helps tremendously here.
- Combine the melted butter, granulated sugar, and light brown sugar in a large bowl until the mixture looks like wet sand.
- Add the eggs one at a time, followed by the vanilla extract, and whisk vigorously until the batter is glossy and smooth.
- Fold the dry ingredients into the wet mixture using a spatula until no white streaks of flour are visible.
- Cover the bowl tightly with plastic wrap and chill in the fridge for 4 hours until the dough is firm and scoopable.
- Preheat your oven to 350°F (175°C) and line your baking sheets with parchment paper.
- Scoop 1 tablespoon of dough and roll it into a ball until it is about the size of a walnut.
- Roll the ball in the extra granulated sugar first, then roll it heavily in the powdered sugar until completely encrusted in white.
- Place the balls 2 inches apart on the sheet and bake for 12 minutes until the cracks look set but the center is soft.
- Let the cookies rest on the pan for 5 minutes until they firm up enough to move to a rack.
Solving Common Holiday Baking Hurdles
Why Your Cookies Spread Too Much
If your cookies end up looking like flat pancakes, the dough was likely too warm. Chilling for the full 4 hours is the most important part of this recipe. The fat needs to be solid so the cookie sets its edges before the center melts completely.
If you're in a rush, you might be tempted to skip this, but trust me, you'll regret it!
Another culprit is over beating the eggs. While we want a smooth batter, adding too much air can cause the cookies to puff up in the oven and then collapse quickly, leading to excessive spreading. Just whisk until everything is combined and glossy. If you want a fun alternative for when you don't want to wait on the oven, try this No Bake Christmas recipe.
Common Troubleshooting Fixes
| Problem | Root Cause | Solution |
|---|---|---|
| Sugar dissolved | No granulated sugar coat | Roll in white sugar before powdered sugar |
| Cookies are dry | Overbaked | Reduce bake time by 2 minutes next time |
| No crinkles | Expired baking powder | Use fresh powder and don't skip the chill |
Common Mistakes Checklist
- ✓ Always use room temperature eggs to ensure a smooth, even dough consistency.
- ✓ Spoon your flour into the measuring cup rather than scooping directly from the bag.
- ✓ Don't skip the granulated sugar "primer" coat; it's the secret to bright white cookies.
- ✓ Keep the dough in the fridge between batches so it stays cold and firm.
- ✓ Allow the baking sheets to cool completely before placing new dough balls on them.
Creative Ways to Swap Ingredients
| Original Ingredient | Substitute | Why It Works |
|---|---|---|
| Dutch Cocoa | Natural Cocoa | More acidic; cookies will be lighter and tangier |
| Butter | Coconut Oil (Solid) | Same fat ratio; adds a very faint tropical hint |
| Light Brown Sugar | Dark Brown Sugar | Higher molasses; makes the center even more fudgy |
If you find yourself missing an ingredient, don't panic. These Chocolate Christmas Cookies are quite adaptable. Just keep in mind that swapping the fats or sugars can slightly change how much the cookie spreads.
For example, using all granulated sugar will result in a crispier cookie, while all brown sugar will make them very soft and potentially harder to handle when rolling.
When scaling this recipe, keep it simple. If you need to double it, just multiply everything by two. However, I recommend baking in batches. Overcrowding the oven can lead to uneven heat distribution, which means some cookies will crinkle perfectly while others might stay smooth.
If you are halving the recipe, beat one egg in a small bowl and use exactly half by weight or volume.
Storing Your Cookies for Freshness
These stay remarkably fudgy for quite a while if you treat them right. Keep them in an airtight container at room temperature for up to 5 days. I actually think they taste better on day two when the flavors have had a chance to really settle into each other.
If they start to get a bit firm, popping one in the microwave for 5 to 8 seconds will bring back that "just baked" velvet texture.
For long term storage, you can freeze the baked cookies for up to 3 months. Just make sure they are completely cool before you stack them, or the powdered sugar will get messy. My favorite trick, though, is to freeze the dough balls before rolling them in sugar.
When the craving hits, you can just take a few out, let them thaw for 15 minutes, roll them in the sugars, and bake. It’s like a gift to your future self.
Festive Pairings for Every Occasion
These cookies are a superstar on any holiday platter, but they really shine when paired with something creamy. A cold glass of milk is the classic choice, but a warm cup of peppermint cocoa or a latte is even better. The bitterness of the coffee cuts through the sweetness of the powdered sugar beautifully.
If you’re putting together a full dessert board, try balancing these rich, dark treats with something bright and fruity, like my favorite Christmas Cookies recipe. The orange notes in those cookies provide a lovely contrast to the deep chocolate here. You could also serve them alongside some salty pretzels or roasted nuts to keep the palate refreshed between bites.
Myths About Chocolate Cookies
One huge misconception is that you need expensive chocolate bars to get a "real" chocolate taste. In reality, a high-quality cocoa powder provides a more concentrated flavor because it doesn't have the extra milk solids or cocoa butter found in bars.
It's the most efficient way to get that deep, dark intensity we all love in a holiday treat.
Another myth is that you can't over chill the dough. While you want it cold, leaving it in the fridge for more than 48 hours can actually start to dry it out, as the flour continues to hydrate and pull moisture from the eggs and butter. Stick to that 4 to 24 hour window for the absolute best results.
Finally, don't believe that "more sugar equals better crinkles." If you put too much powdered sugar on, it can actually weigh down the surface and prevent those beautiful fissures from forming correctly. Just a thorough, even coat is all you need.
Recipe FAQs
What are some classic Christmas cookies?
Yes, chocolate crinkle cookies are a top choice. They offer a stunning visual contrast with their dark, fudgy interior and snowy powdered sugar coating, making them immediately recognizable as a holiday staple.
What is the easiest Christmas cookie to make?
The easiest method often involves a no-bake option. If you must bake, cookies requiring simple drop and roll methods, like these crinkles, are easier than intricate cut-outs.
What are the top 10 Christmas cookies?
While subjective, chocolate crinkles consistently rank high alongside classics like Sugar Cookies and Gingerbread. Our recipe provides that luxurious texture that elevates any cookie platter.
What is the most eaten cookie at Christmas?
Sugar cookies, often decorated, are arguably the most frequently made and consumed. However, rich chocolate options like these are often requested for exchanges due to their decadent flavor profile.
Is it true I must chill the dough for these specific chocolate cookies?
No, this is a common misconception; chilling is critical for texture, not optional. Chilling the dough for at least four hours solidifies the fat, preventing the cookies from spreading into thin disks during baking.
How to make the powdered sugar coating stay bright white after baking?
Roll the chilled dough balls first in granulated sugar, then heavily in powdered sugar. The initial layer of white sugar acts as a moisture buffer, preventing the outer coating from dissolving into the dark chocolate dough.
How to ensure my chocolate cookies are fudgy instead of cakey?
Reduce the bake time to 11 12 minutes when edges look set but the center is still soft. This approach traps moisture inside, similar to how we manage moisture control in our rich Chocolate Cream Pie recipe.
Fudgy Chocolate Christmas Cookies

